

The complete guide
How to Choose and Fly a DIY Kite Making Kit
The problem with most craft kits
You buy a craft kit, the children spend forty minutes on it, and then the finished thing sits on a shelf until somebody quietly puts it in the recycling. The making was fun. The result had nowhere to go.
A kite is different. The thing you decorate is also the thing you use, and using it means getting outside and looking up. That is a short line from the kitchen table to a field, and it is the reason a DIY kite making kit tends to get a better reception than another box of beads.
This guide covers what is actually in this set, how the flying part works, who it suits, and how to get a kite in the air without a frustrating first attempt.
What you get and why the pack size matters
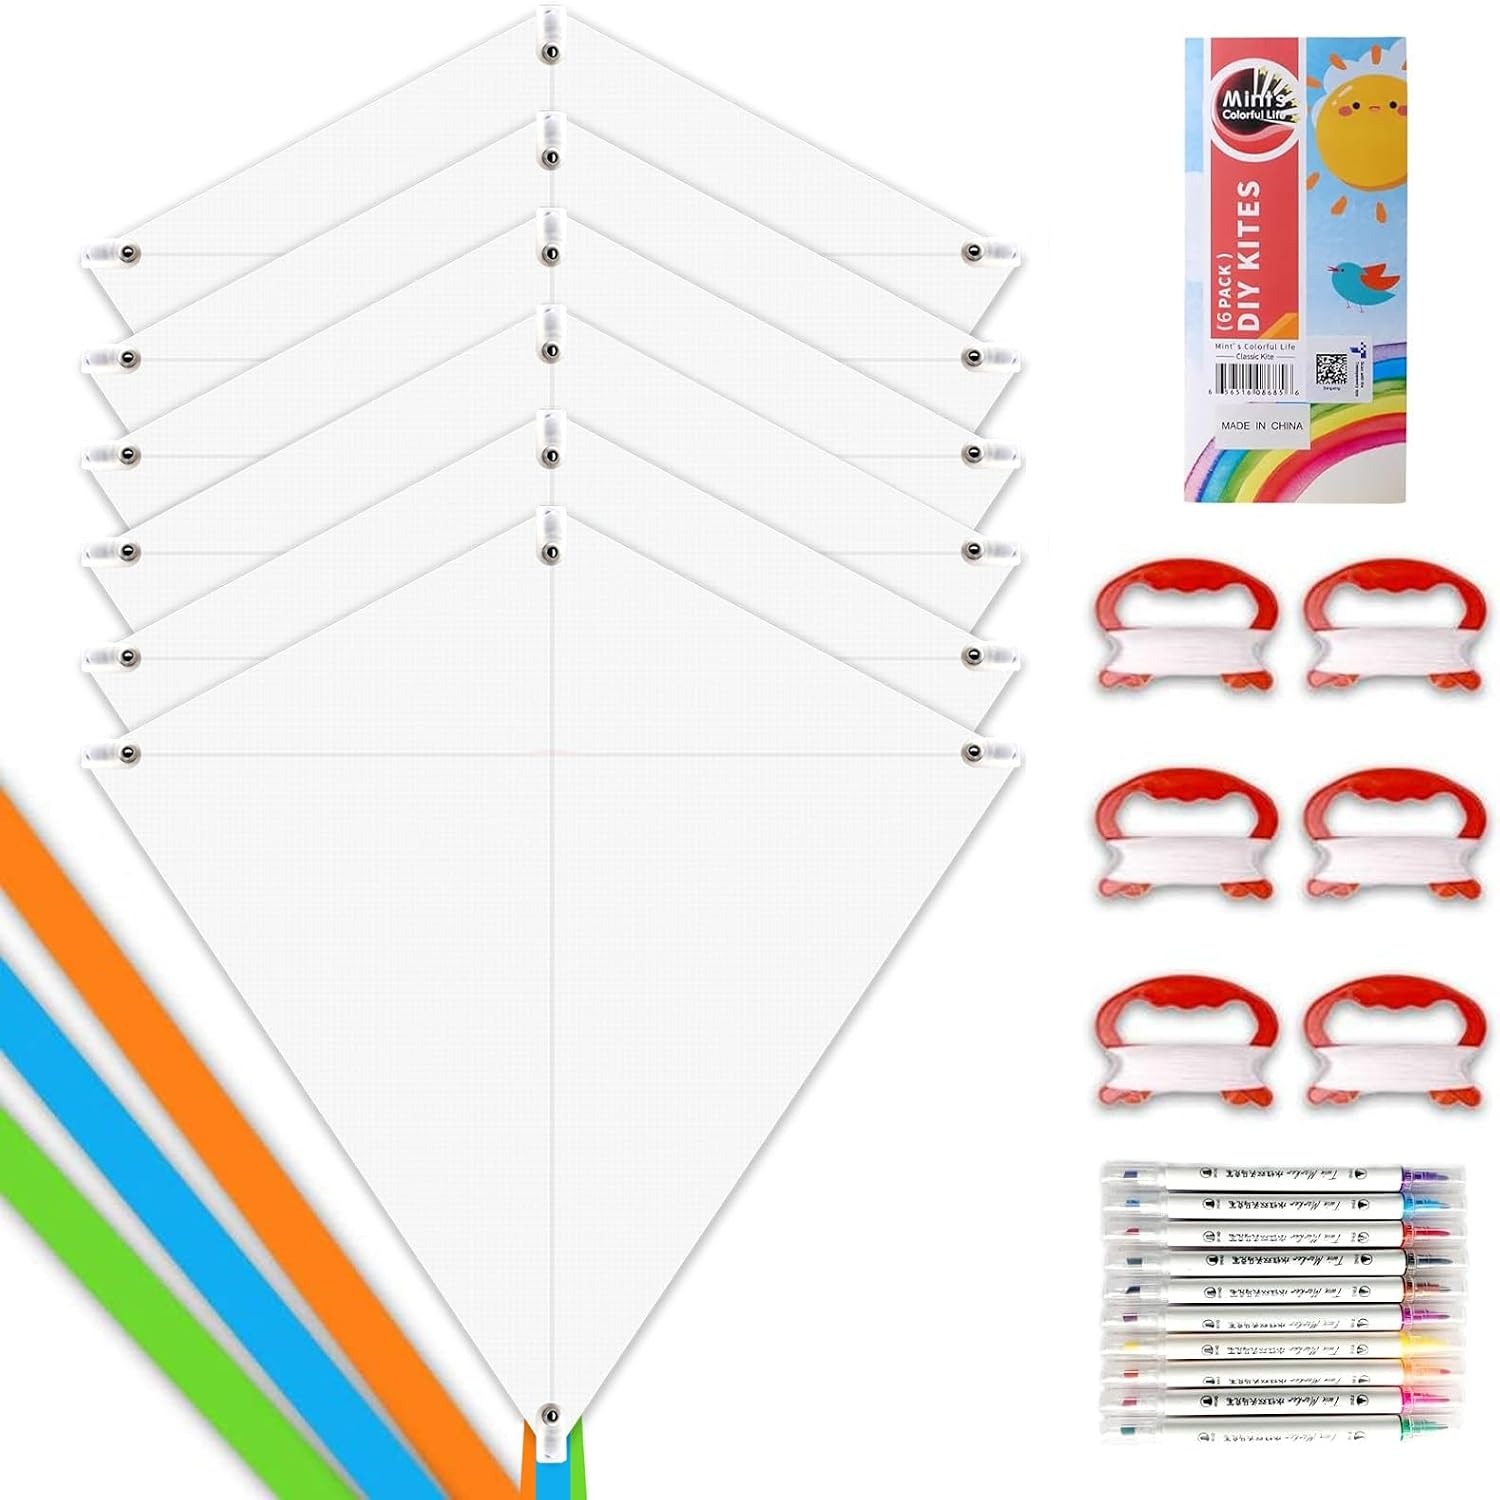
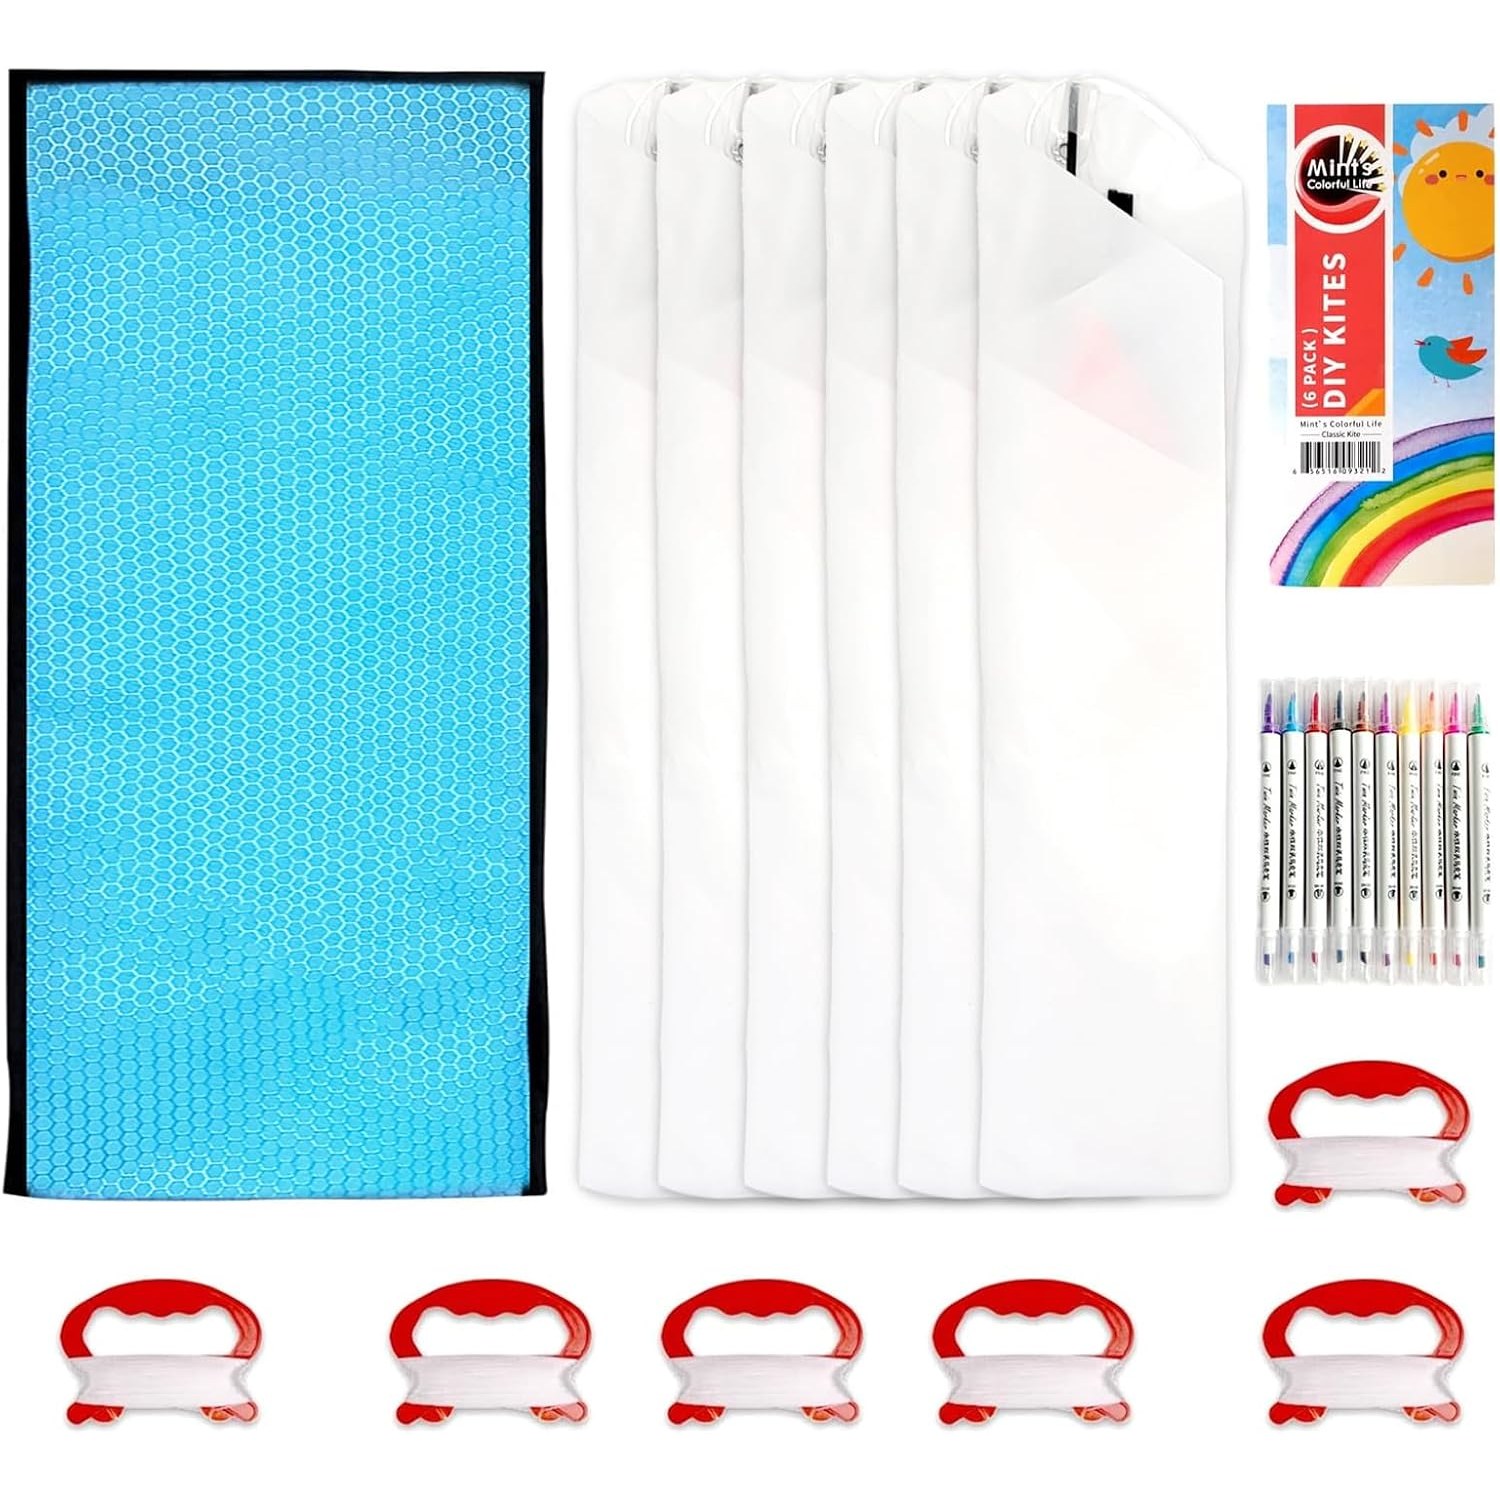
The box holds six blank diamond kites with polyester sails, sixteen markers made up of eight colours with two of each, long colourful ribbon tails, and an instruction booklet. Each kite is listed at 25 inches.
Six is a deliberate number. One kite is a toy for one child. Six is an activity for a group. It covers a birthday party, a set of cousins, a holiday club session, or a class rotating through stations. Nobody has to share a kite, which removes the single most common source of arguing.
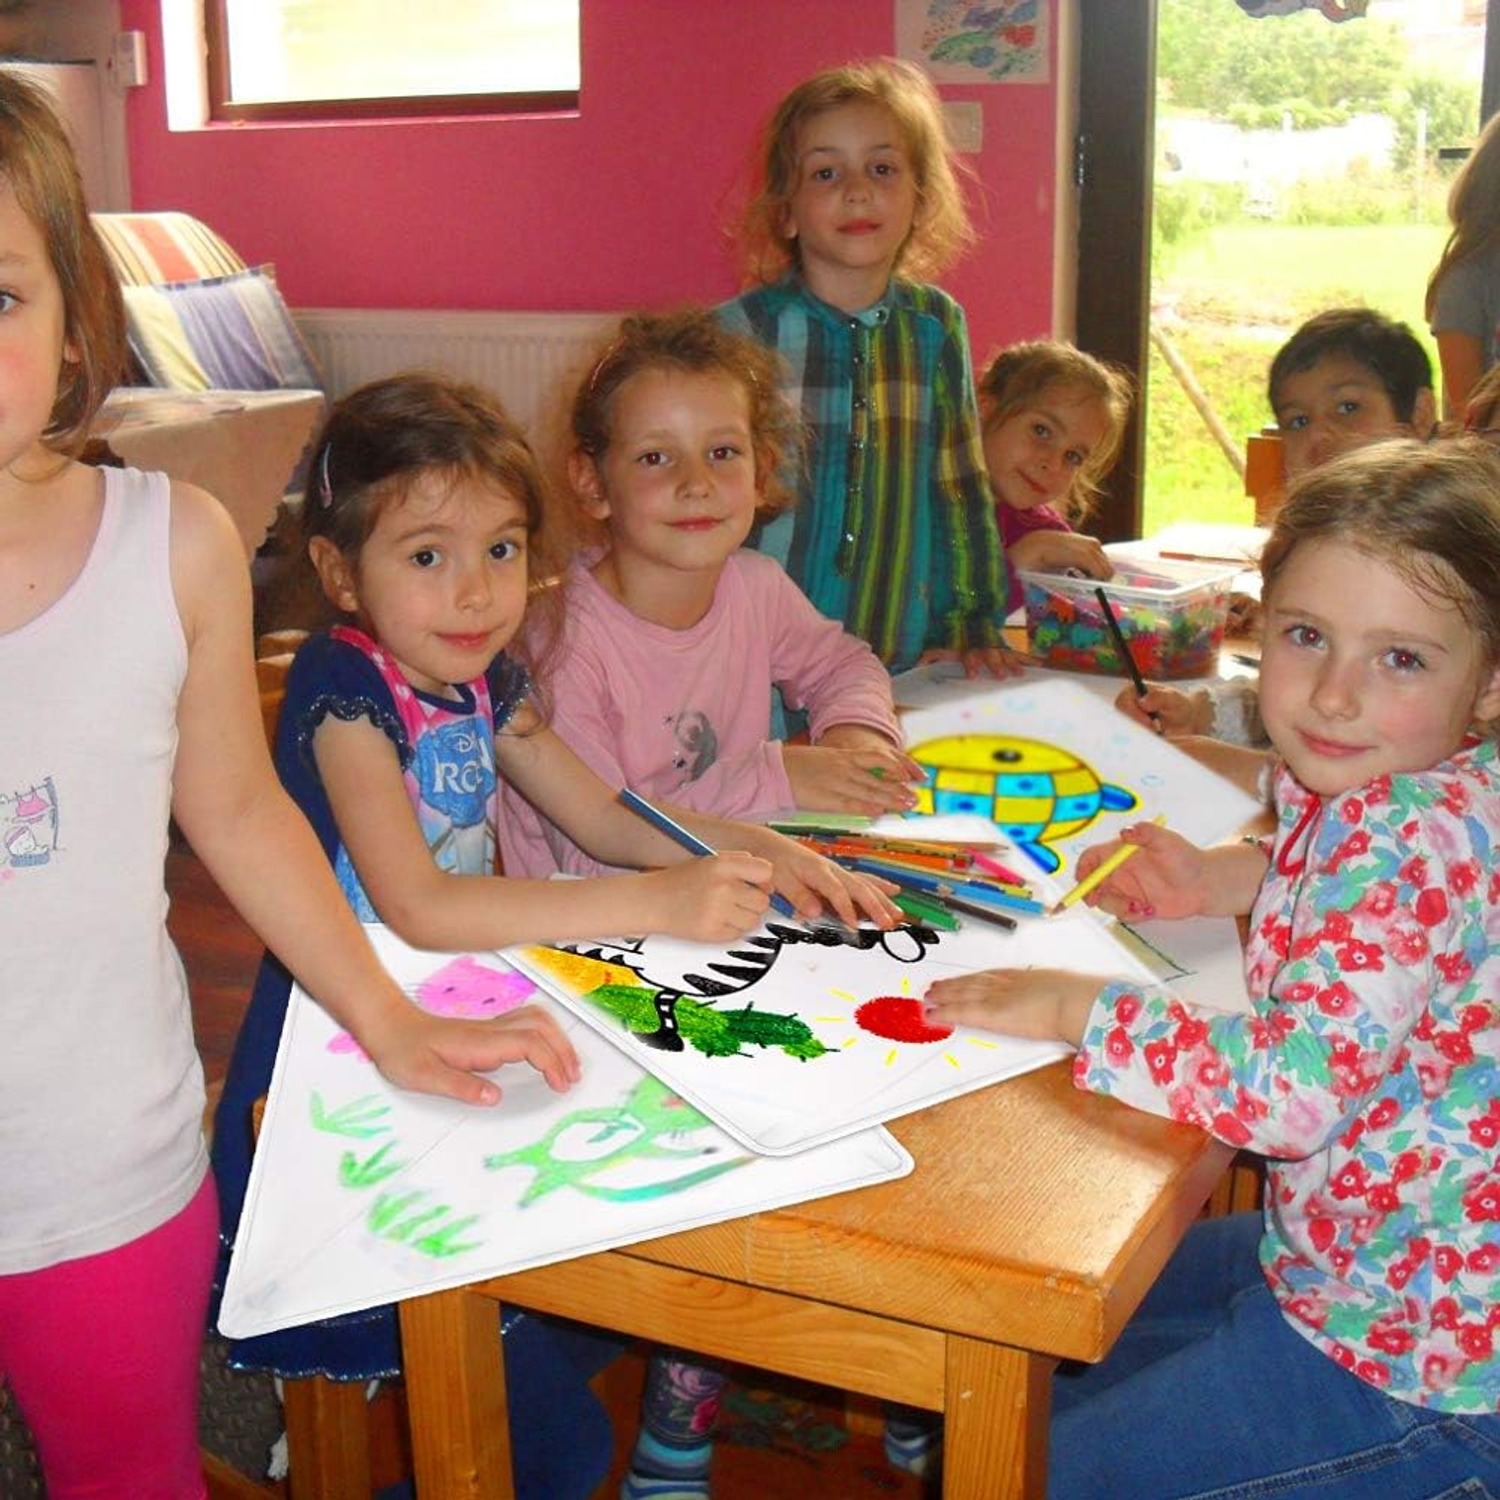
The doubled markers help in the same way. With two of every colour, two or three children can colour at once without anyone sitting there waiting for the blue. Small detail, big difference on the day.
The whole set weighs about 0.3 kg and packs flat at 63.5 x 63.5 x 0.3 cm. That means it fits in a suitcase, a rucksack or a car boot without taking up the space a boxed toy would. If you want a family beach activity that does not dominate your luggage, this is a sensible shape.
How a diamond kite works
A diamond kite is the shape most people picture when they hear the word kite, and there is a reason it has lasted. The sail catches moving air, the air pushes it up and back, and the line you hold stops it drifting away. The push against the restraint is what produces lift.
The tail is doing real work. On a light kite, the ribbon at the back adds drag, which keeps the nose pointed up and stops the kite rolling into a spin. If a kite keeps turning over and diving, nine times out of ten the fix is more tail, not more running.
Running, in fact, is usually the wrong instinct. On a day with enough breeze, you can stand still, hold the line hand low, and let the wind do the lifting while a helper releases the kite a few metres downwind. Let line out in steady pulls rather than one long release. The kite climbs in steps.
If there is almost no wind, no technique will save you. Wait for a day when the leaves are moving and flags are lifting. That is the sweet spot for a 25 inch diamond kite for beginners.
Who this suits
The listed age range is 2 to 15 years, and that span is honest for a set like this. At the young end, a preschooler will enjoy scribbling on the sail and will need an adult on the line outdoors. Around five or six, a child can decorate independently and start learning the launch with help. From eight or nine upward, most children can run the whole thing themselves.
It also works for adults who like making things. The sails are big enough for real drawing, not just a smiley face, and there is something satisfying about watching your own artwork catch a thermal.
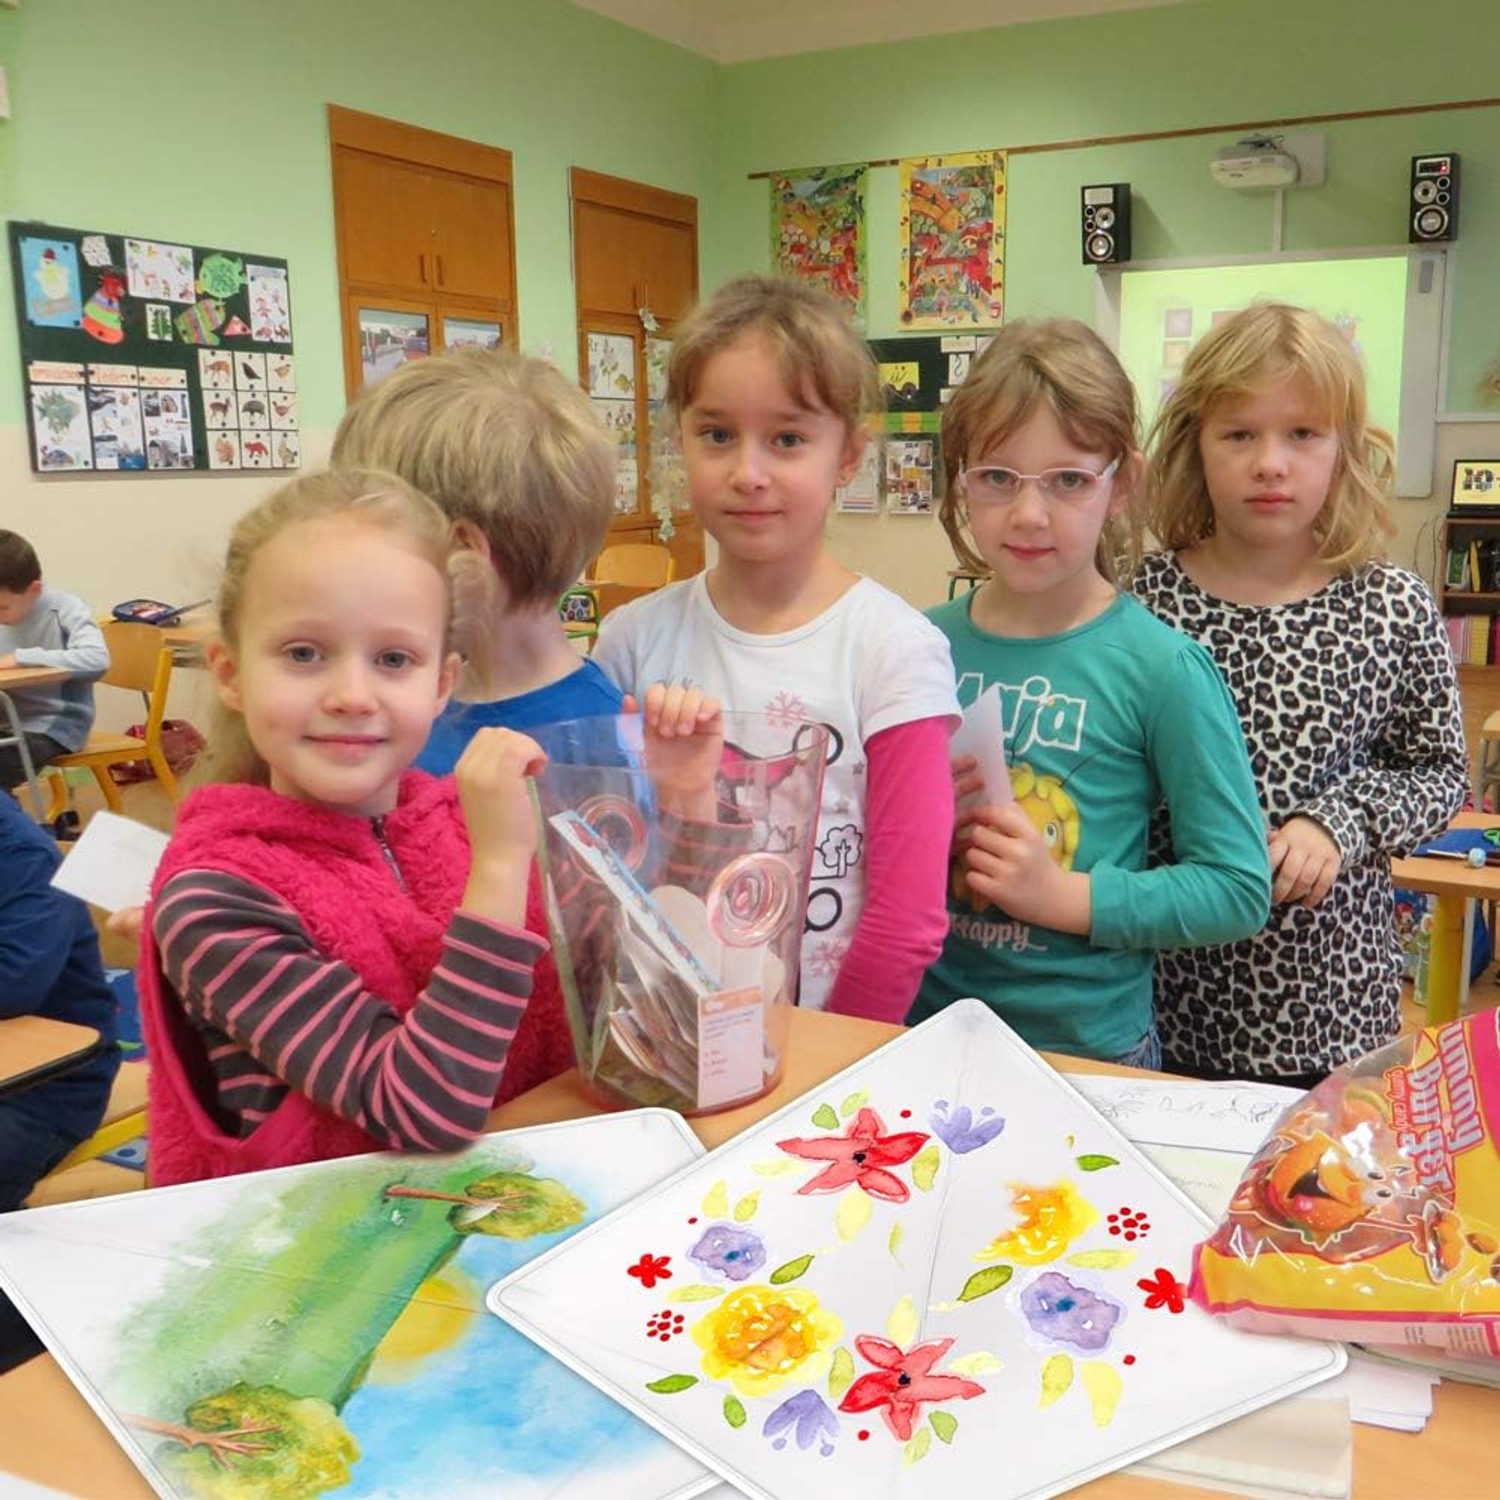
As a classroom craft project kit, it links neatly to shapes, symmetry, and simple physics about wind and drag. The session has a natural arc. Draw indoors, assemble, then go outside and test it. Teachers rarely get an activity that finishes with everyone running around a field on purpose.
For parties, treat it as a party favour craft kit. Each child decorates one, takes it home, and the kite doubles as the going-home gift. Two sets cover a dozen guests.
Getting the decorating right
Lay the sail flat on a hard table before you draw. A flat, firm surface gives you clean lines, and it stops the marker tip catching on loose fabric. Decorate before assembly, always.
Let the ink dry properly. A few minutes is usually enough, but if a child has gone heavy on one area, give it longer. Wet ink plus wind plus hands equals smudges.
Big bold shapes read better in the sky than fine detail. A kite at thirty metres is a small object, and intricate line work disappears. Large blocks of colour, strong outlines and a name in big letters all still show up when the kite is up. Tell the children that before they start and they will usually adjust happily.
If you want to be careful about clothes, use an old shirt or an apron. The marker type is listed simply as markers, with no washability information in the product details, so treat them as permanent on fabric and you will not be caught out.
Flying without the frustration
Pick your spot first. Open ground, no trees, no buildings, no overhead cables. Beaches and playing fields are the classics because the airflow is clean. Trees create turbulence that makes a small kite bob and dive for no obvious reason.
Stand with your back to the wind. Have a helper walk the kite about ten metres downwind and hold it up by the sail. On your signal, they let go while you pull in a short, firm tug on the line. The kite should rise. Feed out line as it climbs.
If the kite dives left or right repeatedly, check the bridle attachment is centred and the tail is hanging straight. If it climbs then stalls and drops, you may be giving out line too fast. Slow it down and pull in a little to put tension back on.
When a group flies together, spread out. Lines crossing is the main thing that ends a good session early, and it is entirely avoidable with a bit of spacing.
Care that actually extends its life
Keep the kite out of wet grass and off damp sand. Water is what makes marker ink smudge and what warps a sail over time. If it does get damp, lay it flat and let it air dry before you pack it.
For light dirt, a barely damp cloth is enough. Do not machine wash or soak, since that risks lifting the drawing. Dried grass and sand usually brush straight off once the sail is dry.
Store it flat, loosely folded or rolled with the tails, somewhere dry and out of direct sun. Hard creases set into fabric and long sun exposure fades colour. A flat drawer or the original packaging both do the job.
The short version
This is a six pack of blank 25 inch diamond kites with polyester sails, sixteen markers, long ribbon tails and an instruction booklet. Children decorate their own sail, assemble the kite and fly it, which gives the craft a proper ending instead of a shelf.
It suits ages 2 to 15, works well for parties, classrooms and family outings, and packs flat at 0.3 kg so it travels easily. Draw flat, let the ink dry, fly in a light steady breeze with the tail attached, and store it dry.
If you want a kite craft kit that keeps a group busy indoors and then gets them outside, this is a straightforward way to do both in one afternoon.