
The complete guide
Hydraulic Robot Hand Kit Buyer's Guide: What to Expect Before You Build
The problem this kit solves
Plenty of science toys promise hands-on learning and deliver a plastic shell with a battery inside. The child presses a button, something whirrs, and nothing is actually learned. Two days later it is under the bed.
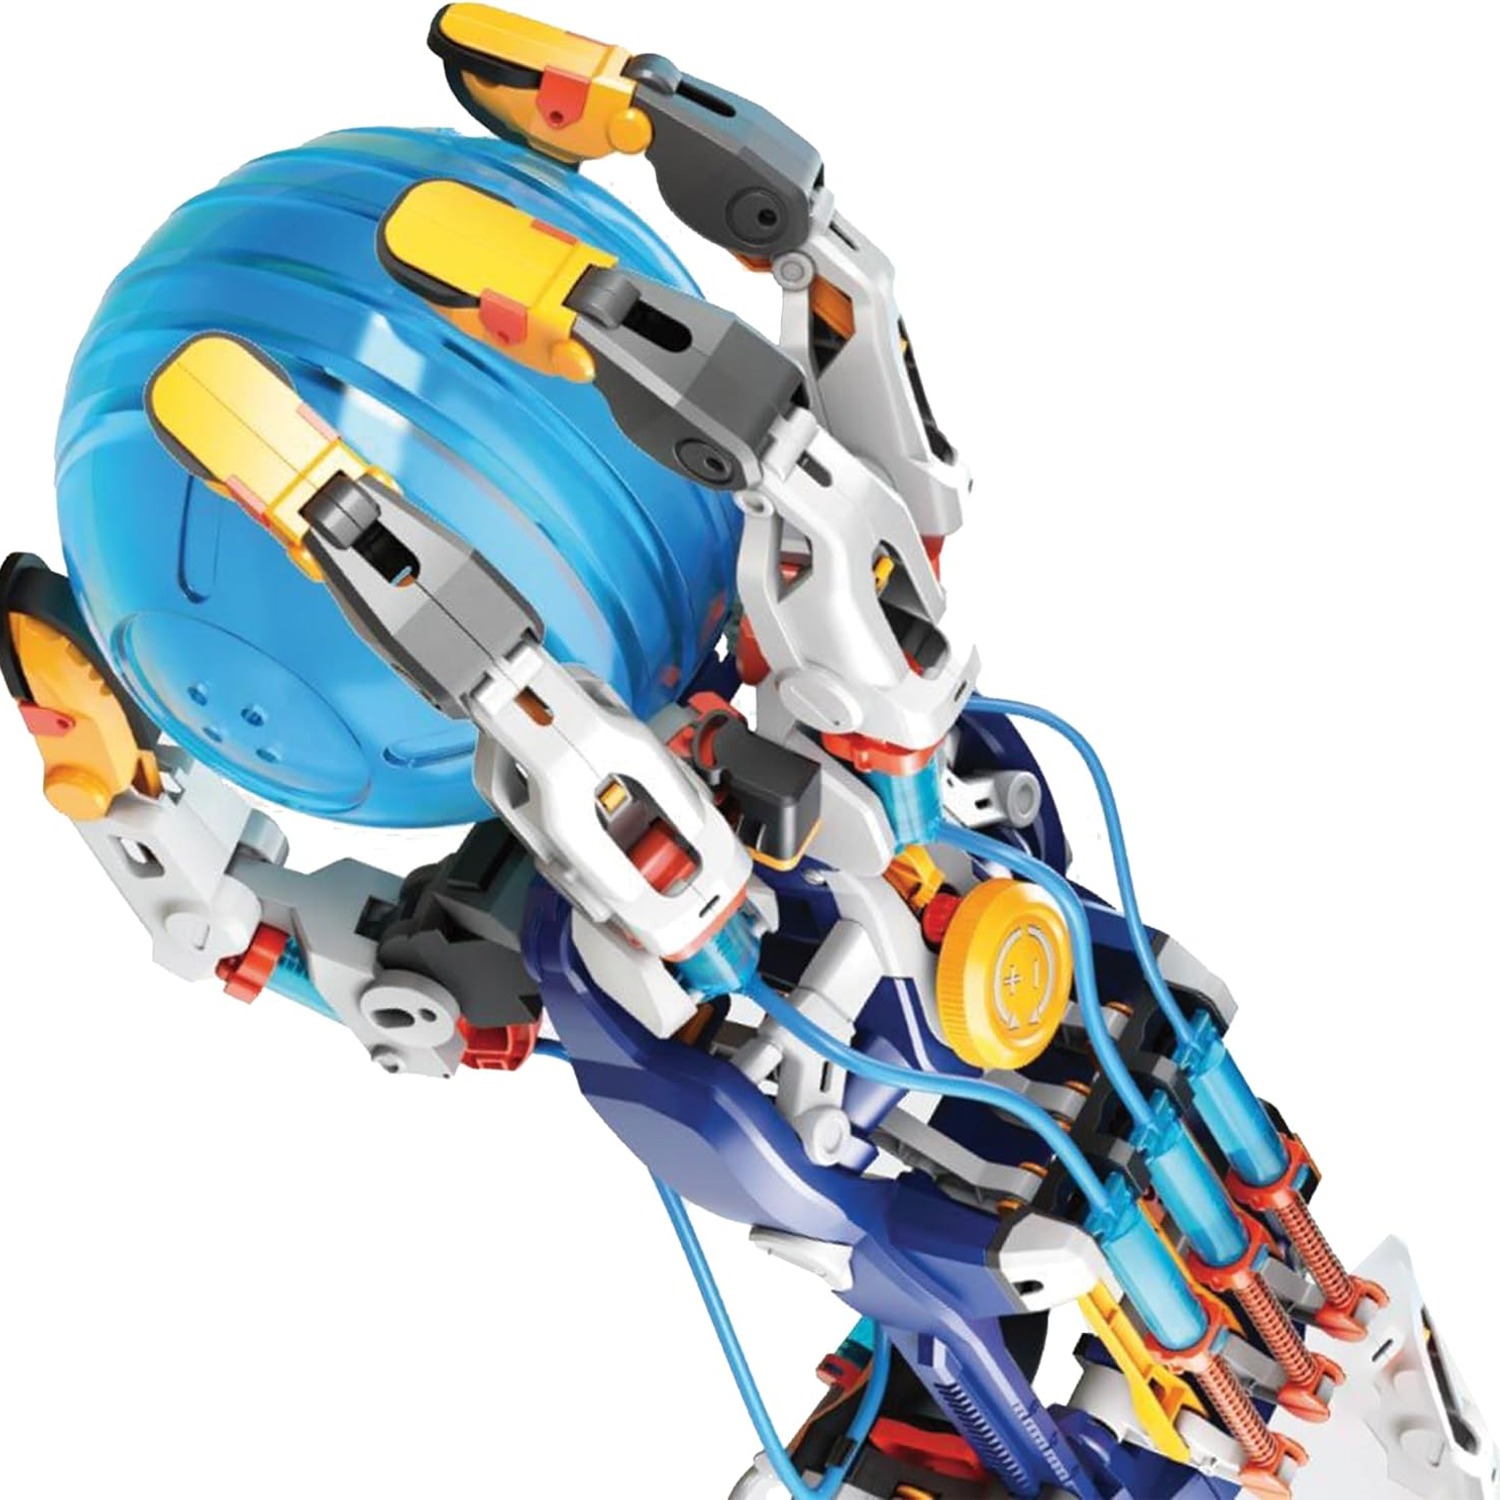
A hydraulic robot hand kit works differently because the mechanism is the toy. There is no cover hiding the clever bit. You can see the syringes, the tubing and the linkages, you can watch the fluid move, and you can feel the resistance in your own hand when a finger meets something solid. That direct connection between cause and effect is what makes the idea stick.
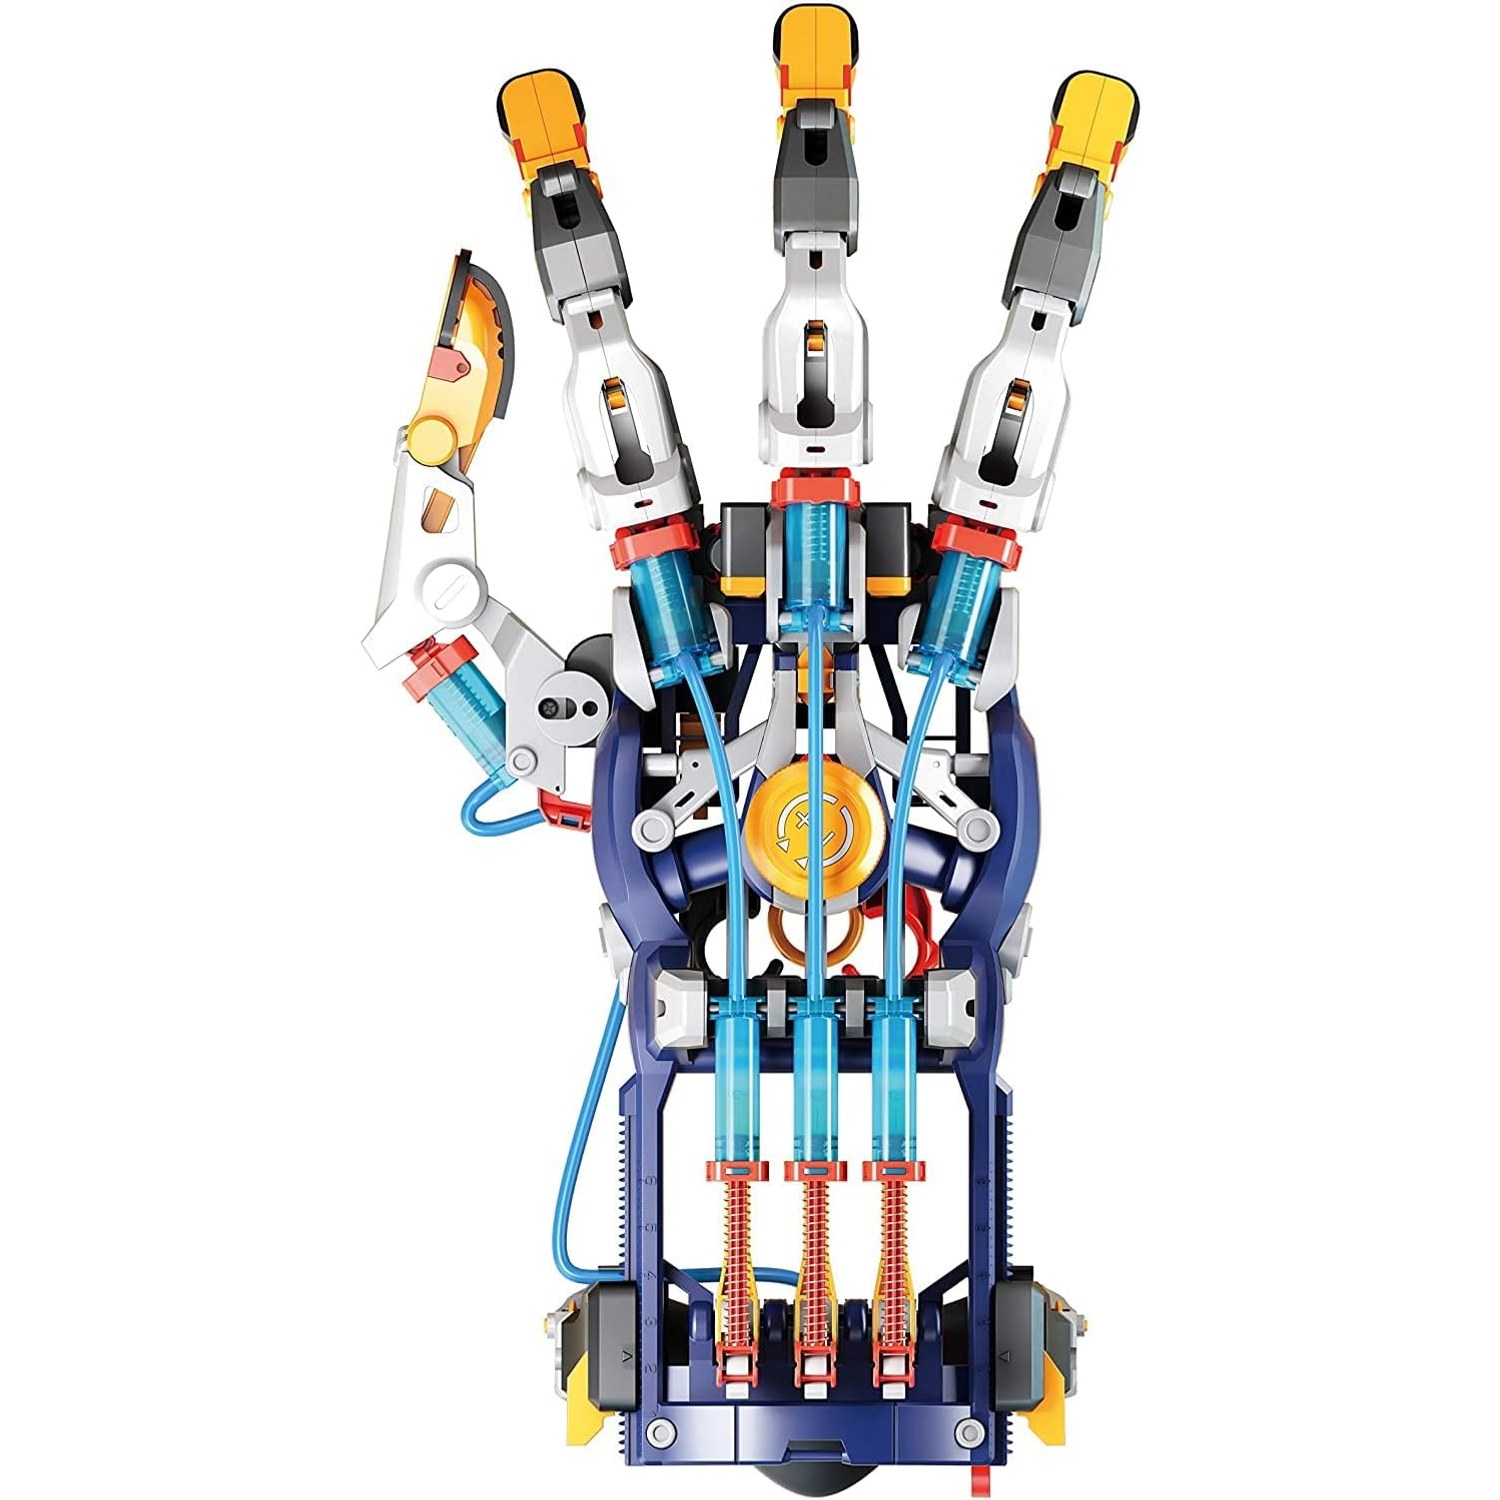
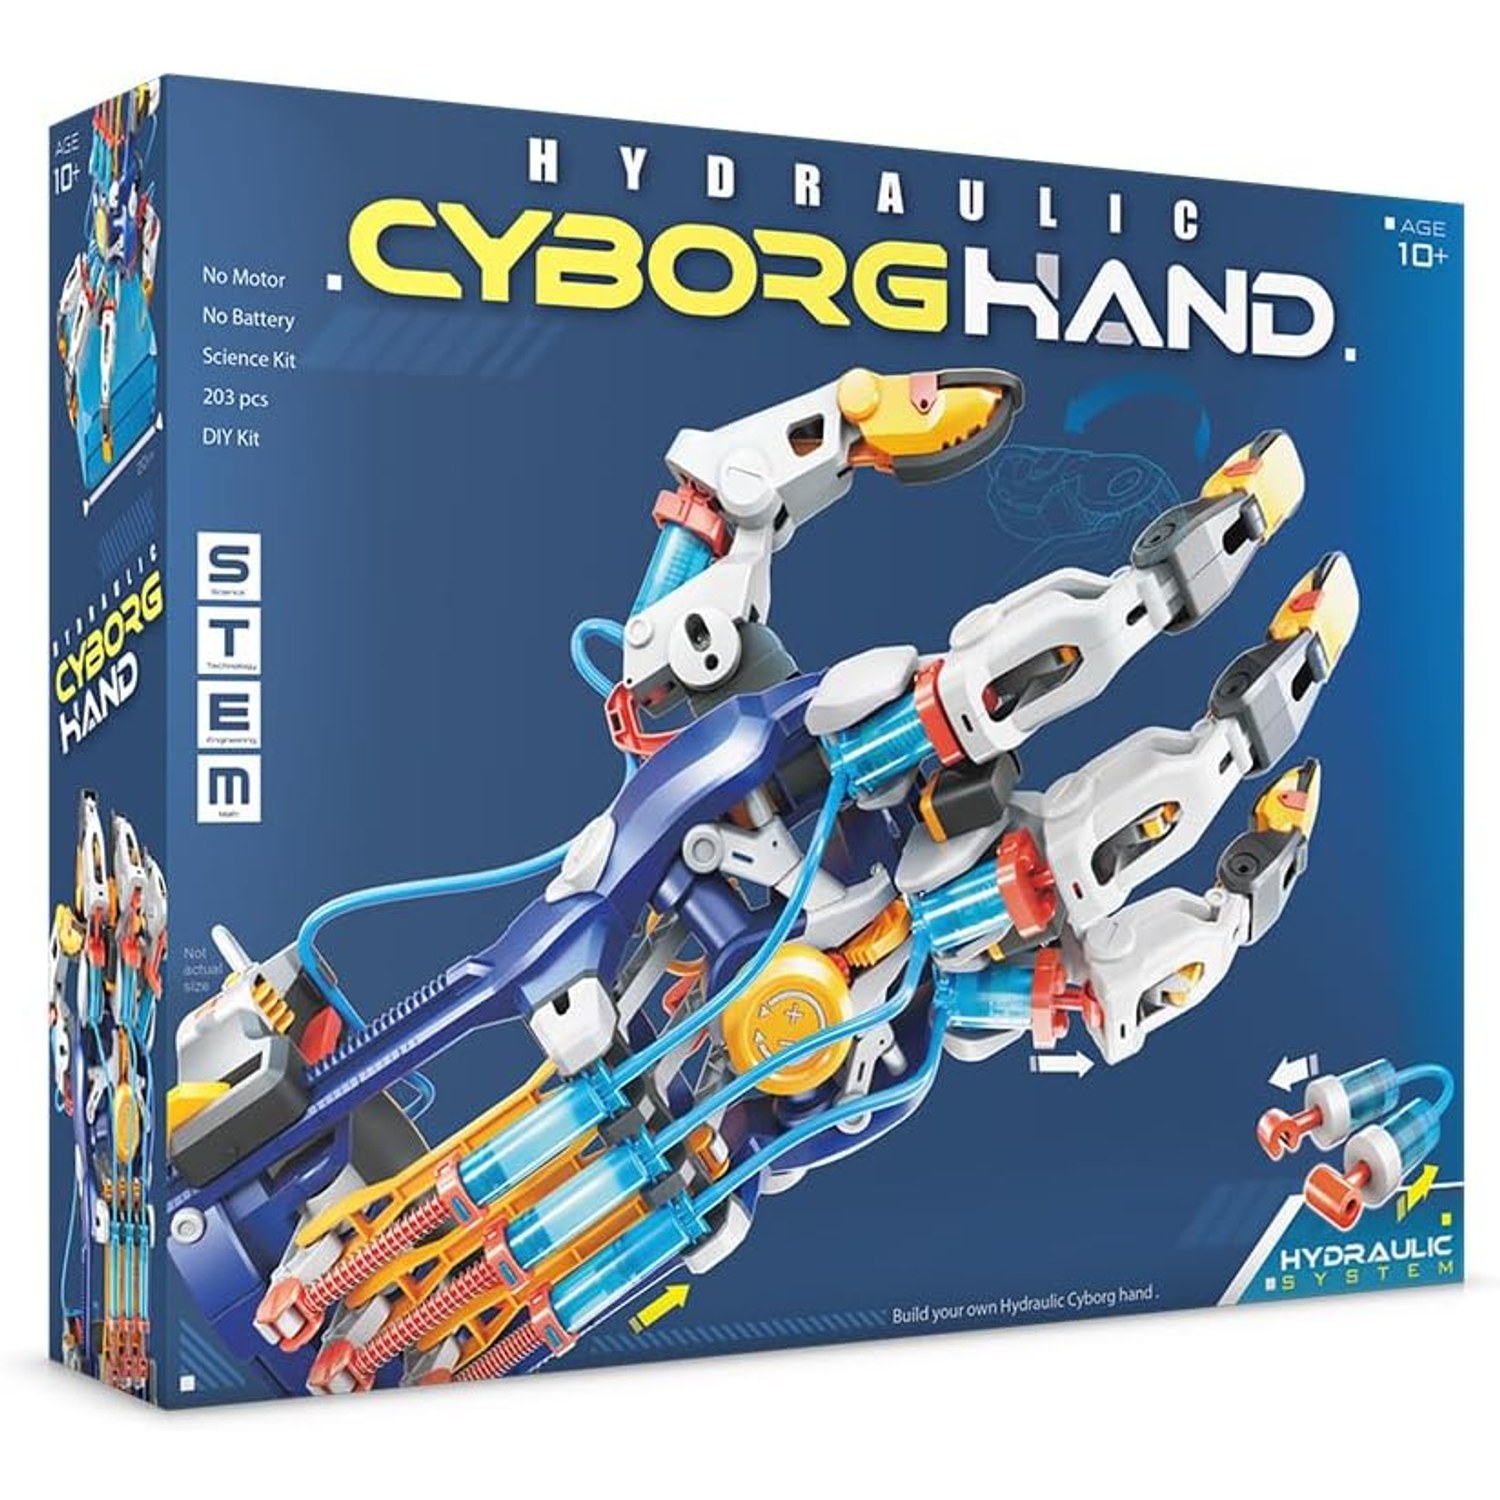
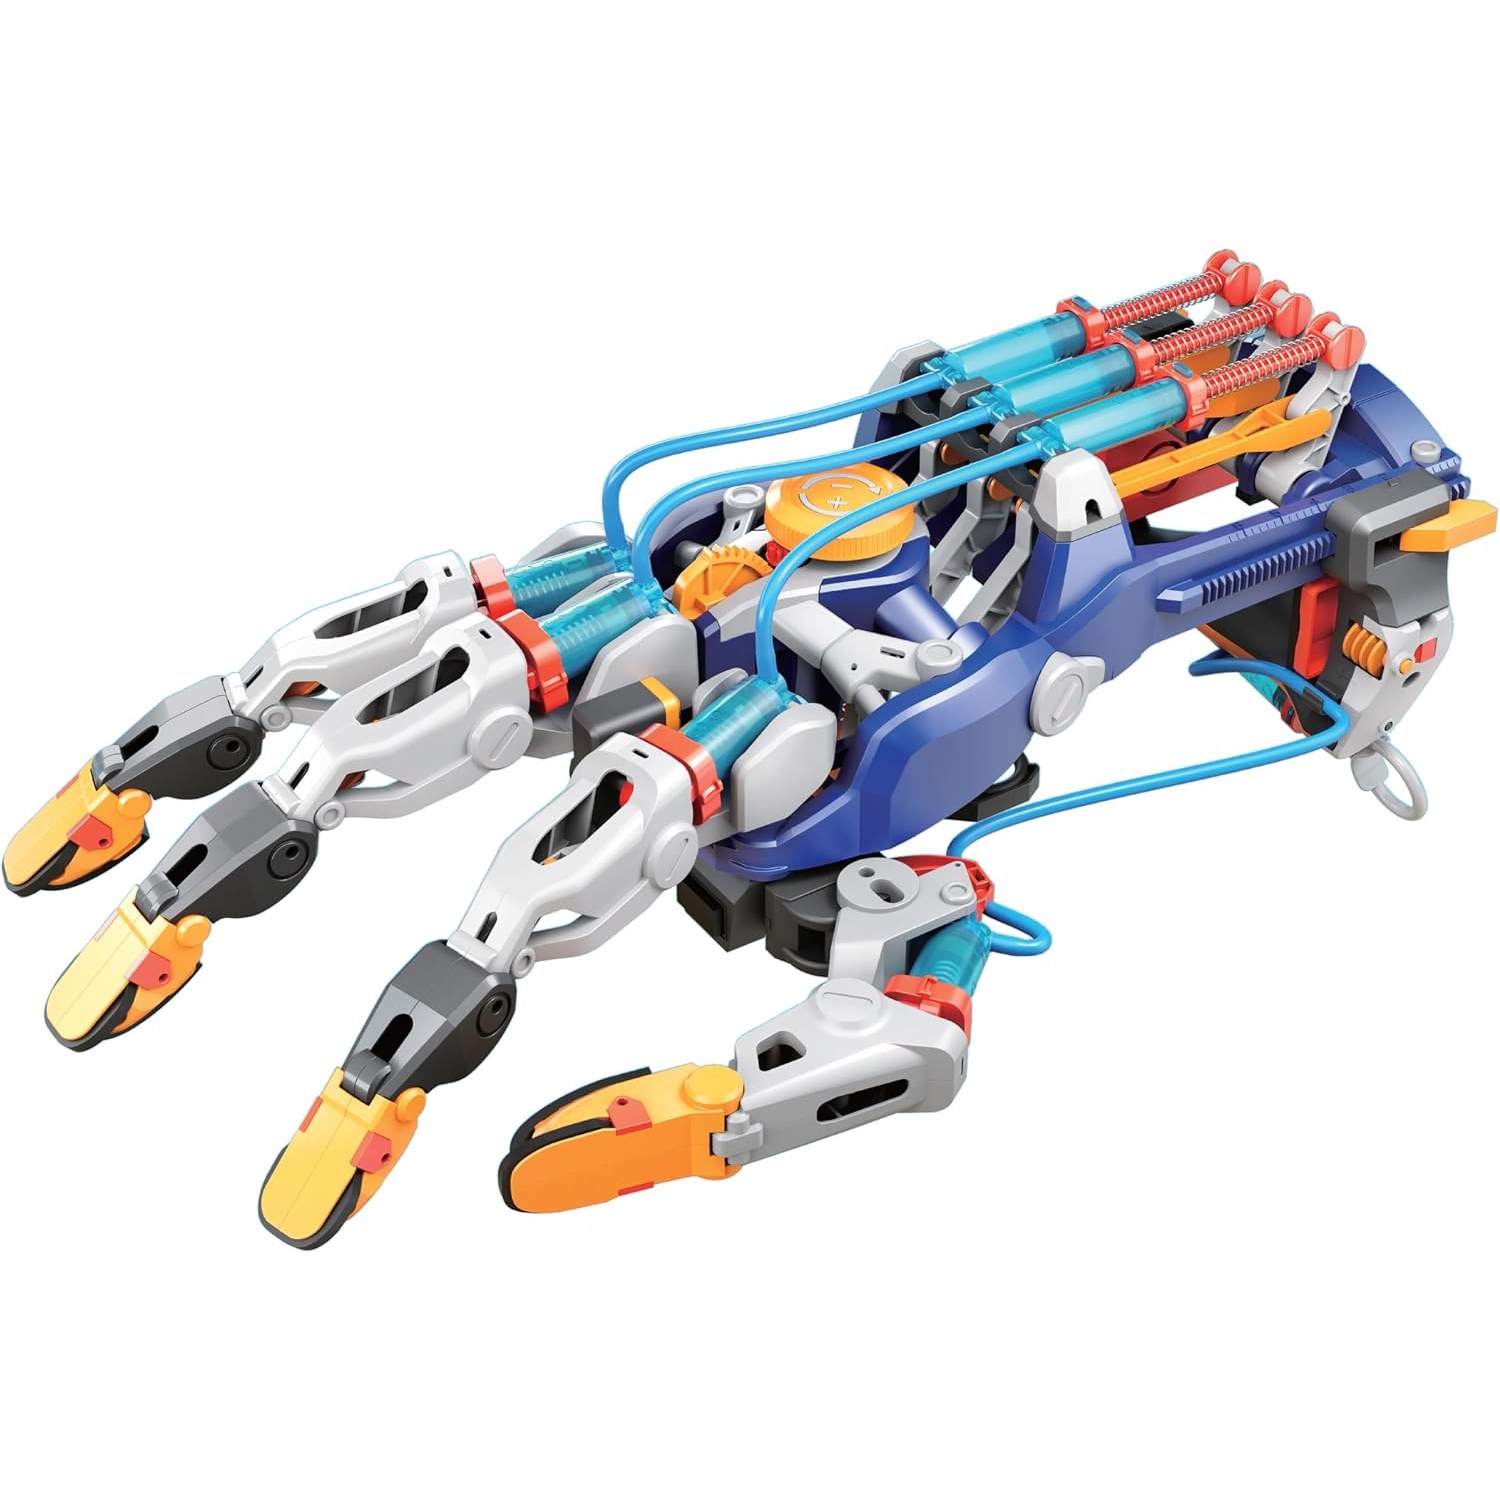
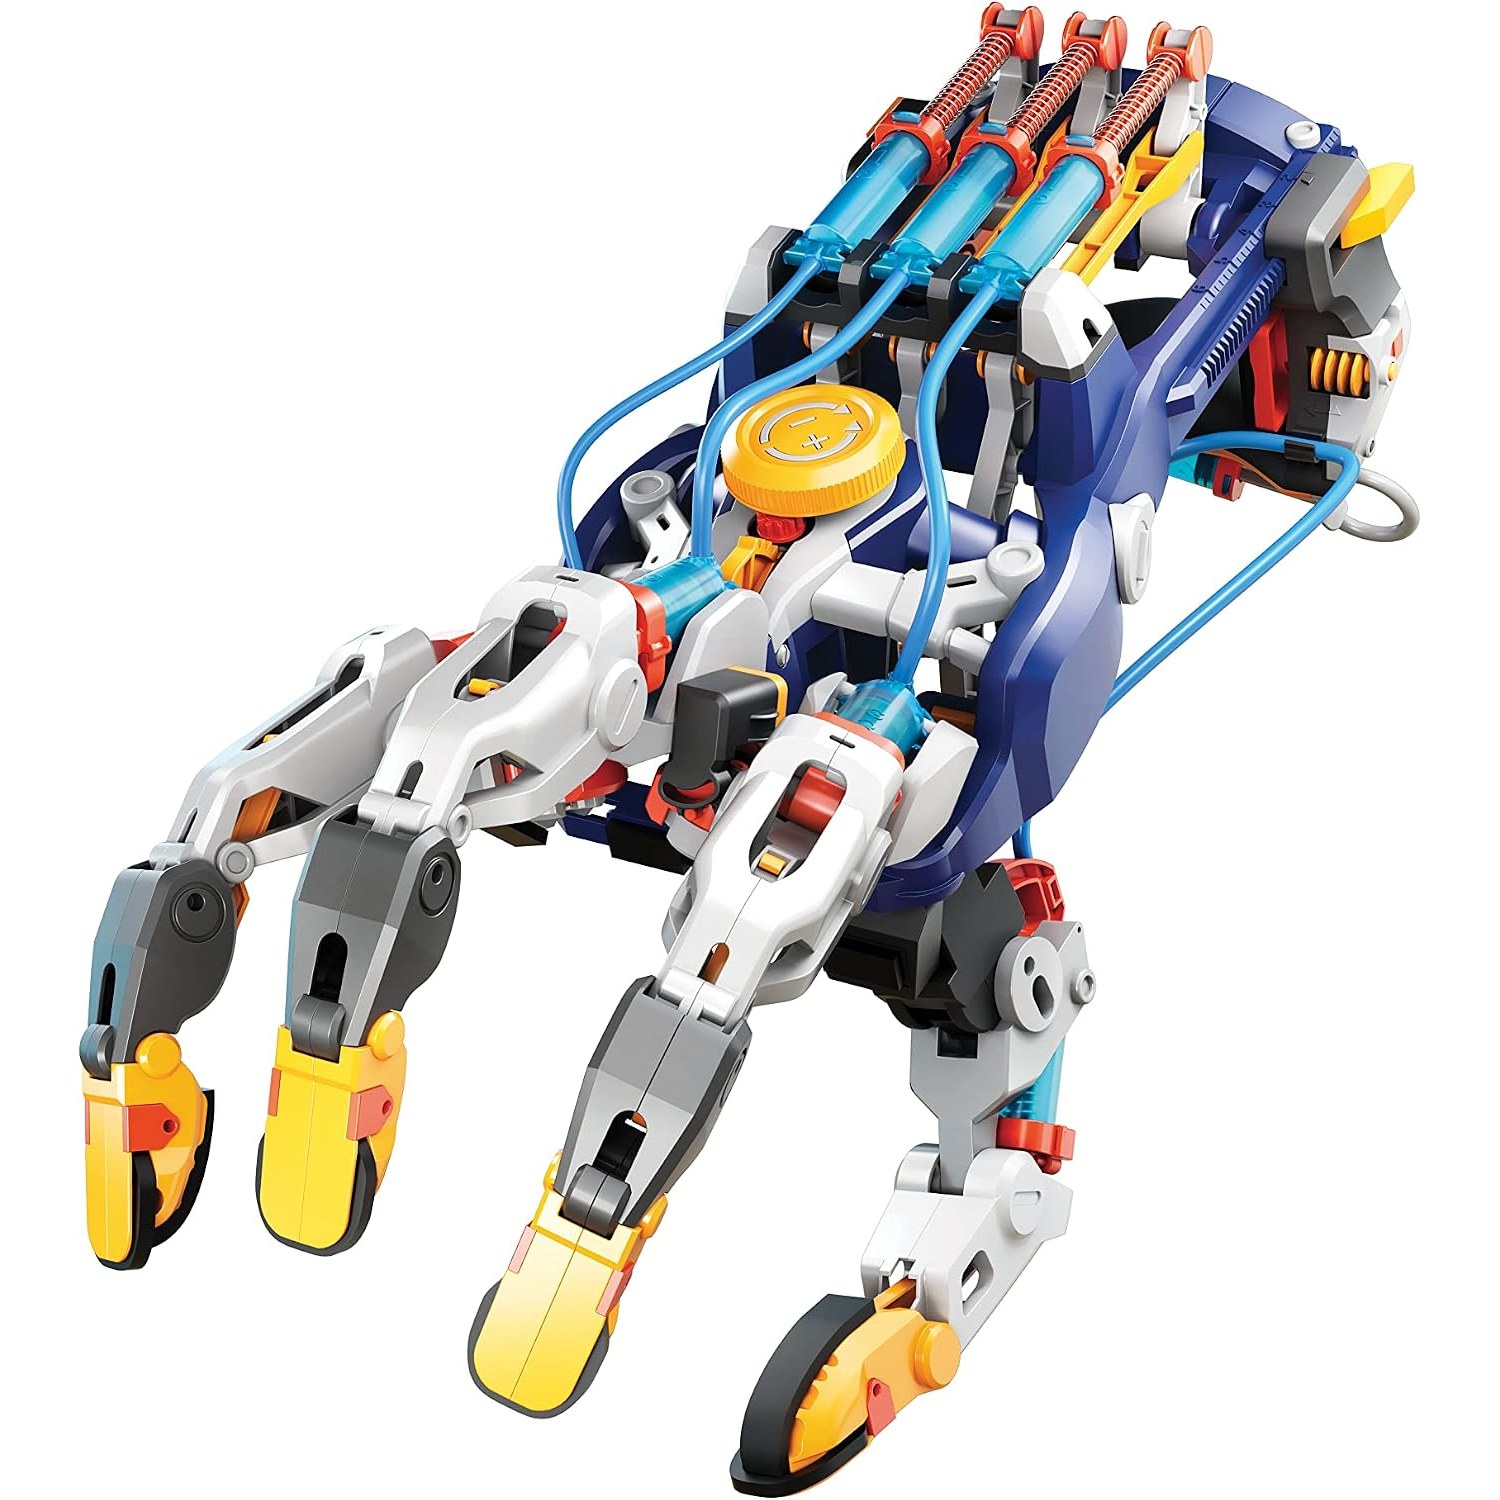
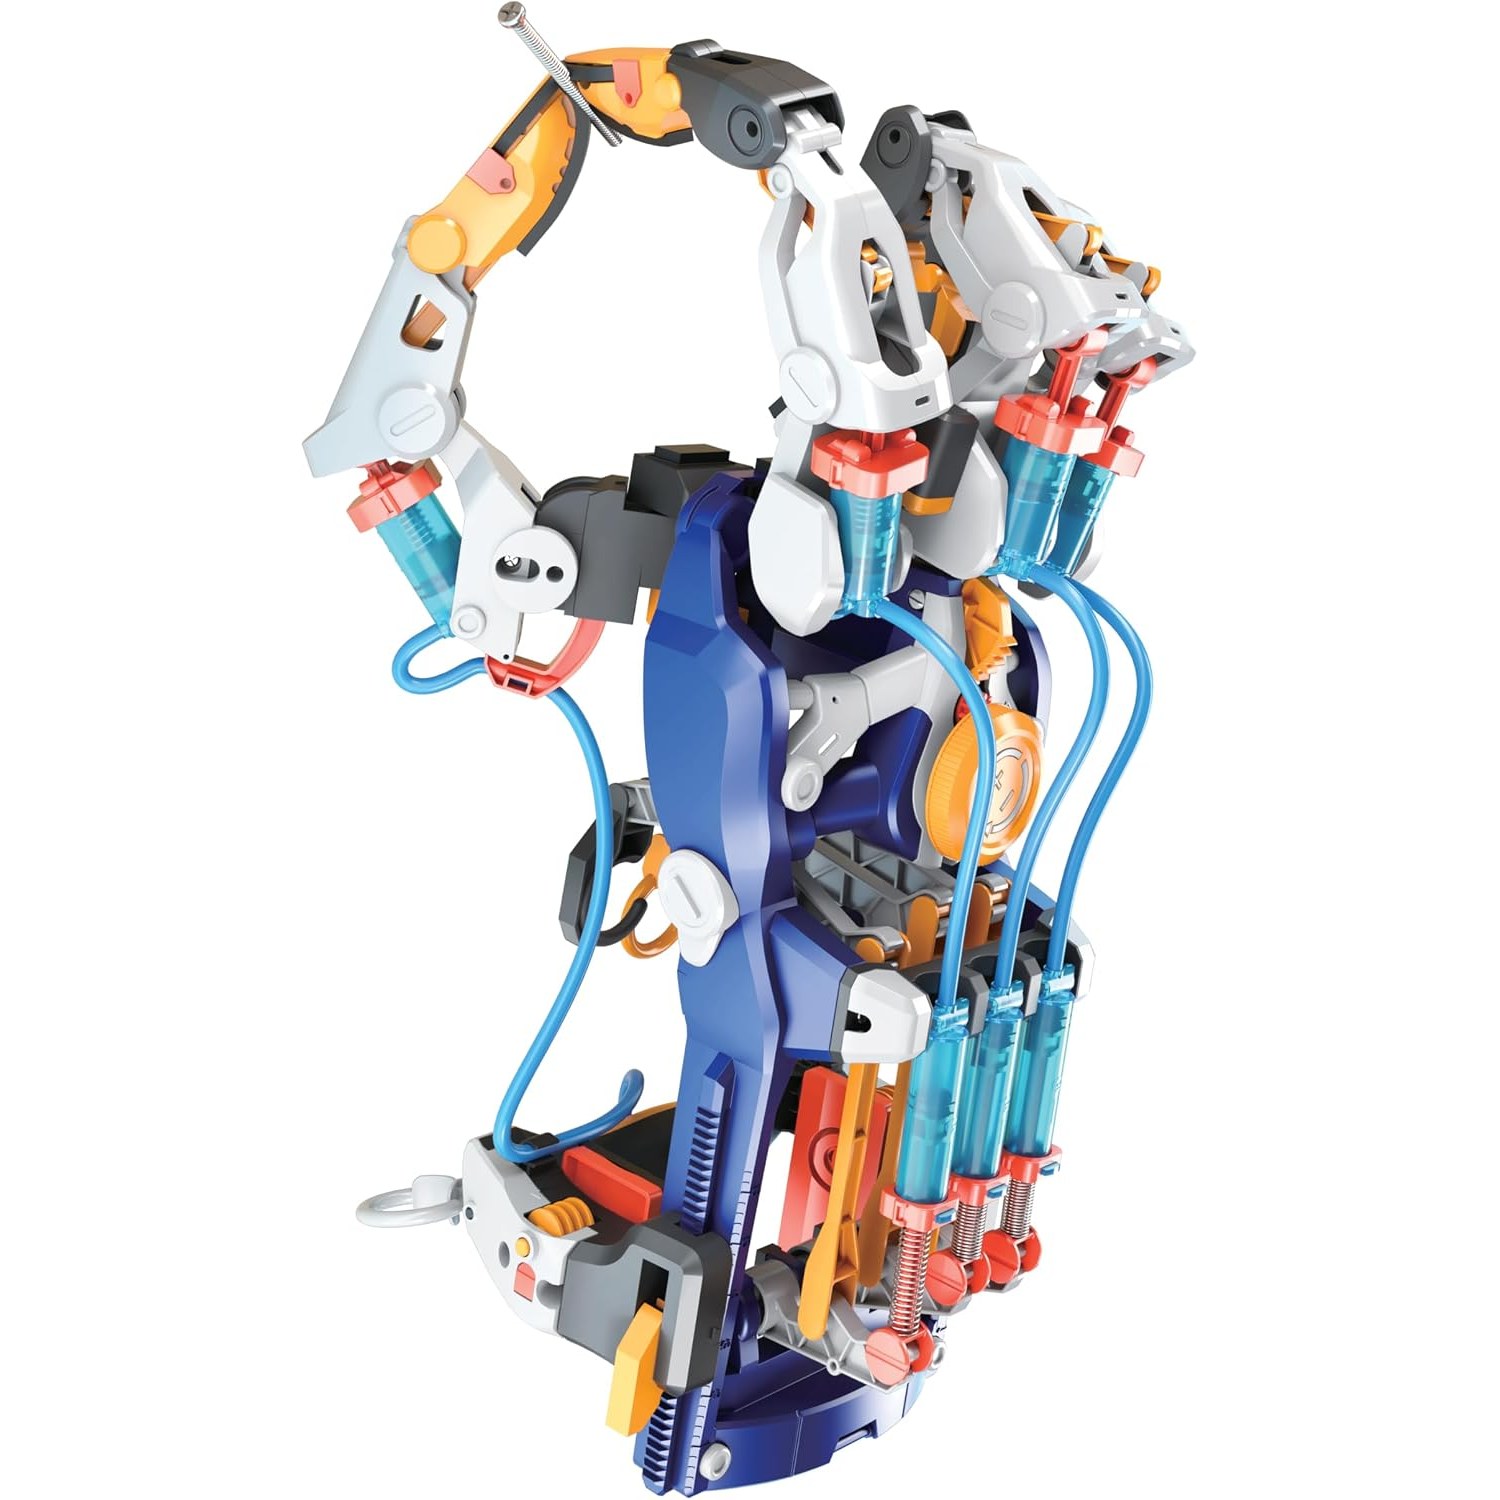
This kit from CONSTRUCT & CREATE contains 203 pieces that build into a wearable hand with articulated fingers and a thumb. It runs entirely on water pressure. No batteries, no motors, no app, no charging cable to lose. Squeeze the control side and the fingers close. Let go and springs return them.
How the hydraulics actually work
The physics here is straightforward, which is exactly why it makes a good teaching example. Liquids do not compress much. If you seal water into a tube and push on one end, the push comes out the other end almost instantly and almost completely.
Each finger has a small syringe connected by flexible tubing to a matching syringe on the control side. When the builder presses a control syringe, water travels down the tube and extends the finger syringe, which pulls on a linkage and closes the joint. Release the pressure and the spring pulls everything back.
Change the syringe sizes and you change the behaviour. A larger pushing syringe moves a smaller one further but with less force, which is mechanical advantage shown in a way a diagram never quite manages. Children who build this tend to work that out for themselves within about ten minutes of playing with the finished hand, usually while trying to pick up something slightly too heavy.
Air is the enemy. Air compresses, water does not, so a bubble in the line makes the fingers feel spongy and slow. Filling carefully and following the instructions on priming the lines makes a real difference to how satisfying the finished hand feels.
Who the kit suits
The manufacturer recommends ages 9 and up, and that is a fair call. A 9 year old who likes making things will manage with occasional help. A 12 or 13 year old will likely do the whole thing solo and then start modifying it.
It suits a particular kind of child. If your household already enjoys taking apart old remotes, building elaborate marble runs or asking why things work, this will be welcome. If the child in question loses interest in anything that takes more than fifteen minutes, be honest with yourself before buying. Two hours of careful assembly is part of the deal.
Adults often enjoy it too, either building alongside a child or just because it is a pleasant way to spend an evening. Teachers and homeschool parents use it as the practical half of a lesson on fluid power. The listed number of players is one, so for a class you need one kit per builder, though the finished hands make a good group demonstration afterwards.
What is in the box and what else you need
The kit contains 203 injection-moulded parts in ABS and polypropylene, with TPE and steel elements, plus metal screws and springs. Detailed instructions are included. The packed box is 41 x 30 x 11 cm and the whole thing weighs 0.98 kg.
What is not in the box is water, which you supply, and a couple of basic tools. Scissors are the main one, mostly for trimming tubing to length. A small screwdriver speeds up the fixings considerably compared with turning them by hand. A shallow tray or bowl to hold loose parts is not required but will save a lot of crawling around looking for a dropped screw.
Clear a table. Give yourself decent light. Hydraulic builds involve small fixings and fine tubing, and poor light turns a pleasant project into a frustrating one.
Choosing between this and other STEM kits
There are three broad categories competing for the same shelf space, and they are not interchangeable.
Electronic robot kits teach coding and circuits. They are excellent, but they need batteries, sometimes a tablet, and the interesting work happens in software rather than in your hands. Mechanical construction sets teach structure and gearing but rarely demonstrate a single principle as cleanly as this. Pure chemistry sets are fun but usually produce a result rather than an object you keep.
A hydraulic robot hand sits in the middle. It is a genuine build project with a clear physics lesson and a finished thing you can wear and use afterwards. For families comparing the best build your own robot kit options, the deciding question is usually whether the child wants to program something or wants to make something physical that moves. This is firmly in the second camp.
The no-battery aspect matters more than people expect. Kits that need four AAAs you do not have tend to be opened, half built, and then parked until someone remembers to buy batteries. That delay kills momentum. This one works the moment the last screw goes in.
Getting a good result from the build
Read the instructions through once before touching anything. It takes five minutes and prevents the common mistake of attaching a finger linkage in the wrong orientation, which means undoing four steps.
Sort parts into groups before you begin. The 203 pieces include several similar-looking components, and sorting saves more time than it costs.
Do not overtighten the screws. Plastic threads strip, and a stripped boss is annoying to work around. Snug is enough. Joints that need to pivot should pivot freely, so if a finger feels stiff, back the screw off a quarter turn rather than forcing it.
Set the hand up for the correct hand before you commit. The design allows either left or right configuration with adjustable features for comfort, but swapping afterwards means partial disassembly. Check which hand the builder will actually use.
Expect the first fill to be slightly messy. Keep a cloth nearby.
Care, storage and keeping it working
Wipe the plastic with a slightly damp cloth and dry it properly. Empty the water from the syringes and lines after longer play sessions so nothing sits wet inside the tubing.
Screws loosen with repeated use, which is normal for any mechanical model. A quick check every few weeks and a gentle retighten keeps the hand feeling crisp. Keep spare screws and small parts in a labelled bag so that a rebuild is possible later.
Store it indoors. The usage rating is indoor, and heat, sunlight and damp are all unkind to plastics and springs over time. A shelf is better than a toy box, both for the hand and for whatever else is in the box.
The short version
This is a 203-piece hydraulic robot hand kit for ages 9 and up, built from ABS and polypropylene with metal screws and springs. It takes roughly two hours, needs no batteries, fits either hand with adjustable features, and arrives in a 41 x 30 x 11 cm box weighing 0.98 kg.
Buy it for a child who likes making things and will enjoy a proper afternoon project. Skip it if patience is in short supply. For everyone in the first group, it is one of the more satisfying hands on learning toys available, mostly because the science is visible the whole way through and the finished hand genuinely works.