
The complete guide
The Parent's Guide to Choosing an Outdoor Explorer Kit
The problem with "go and play outside"
Most children will happily go outside. The trouble starts about eleven minutes later, when they drift back in saying there is nothing to do. The garden is familiar. The park is familiar. Without a purpose, outdoor time runs out of steam fast, and the screen wins by default.
A kit changes that, and not because the plastic is magic. It changes it because the child now has a role. Someone holding binoculars is a lookout. Someone holding a net is a bug hunter. The same patch of grass they walked past yesterday becomes a place to search. That is really what you are buying with a kids adventure set: a reason to stay out.
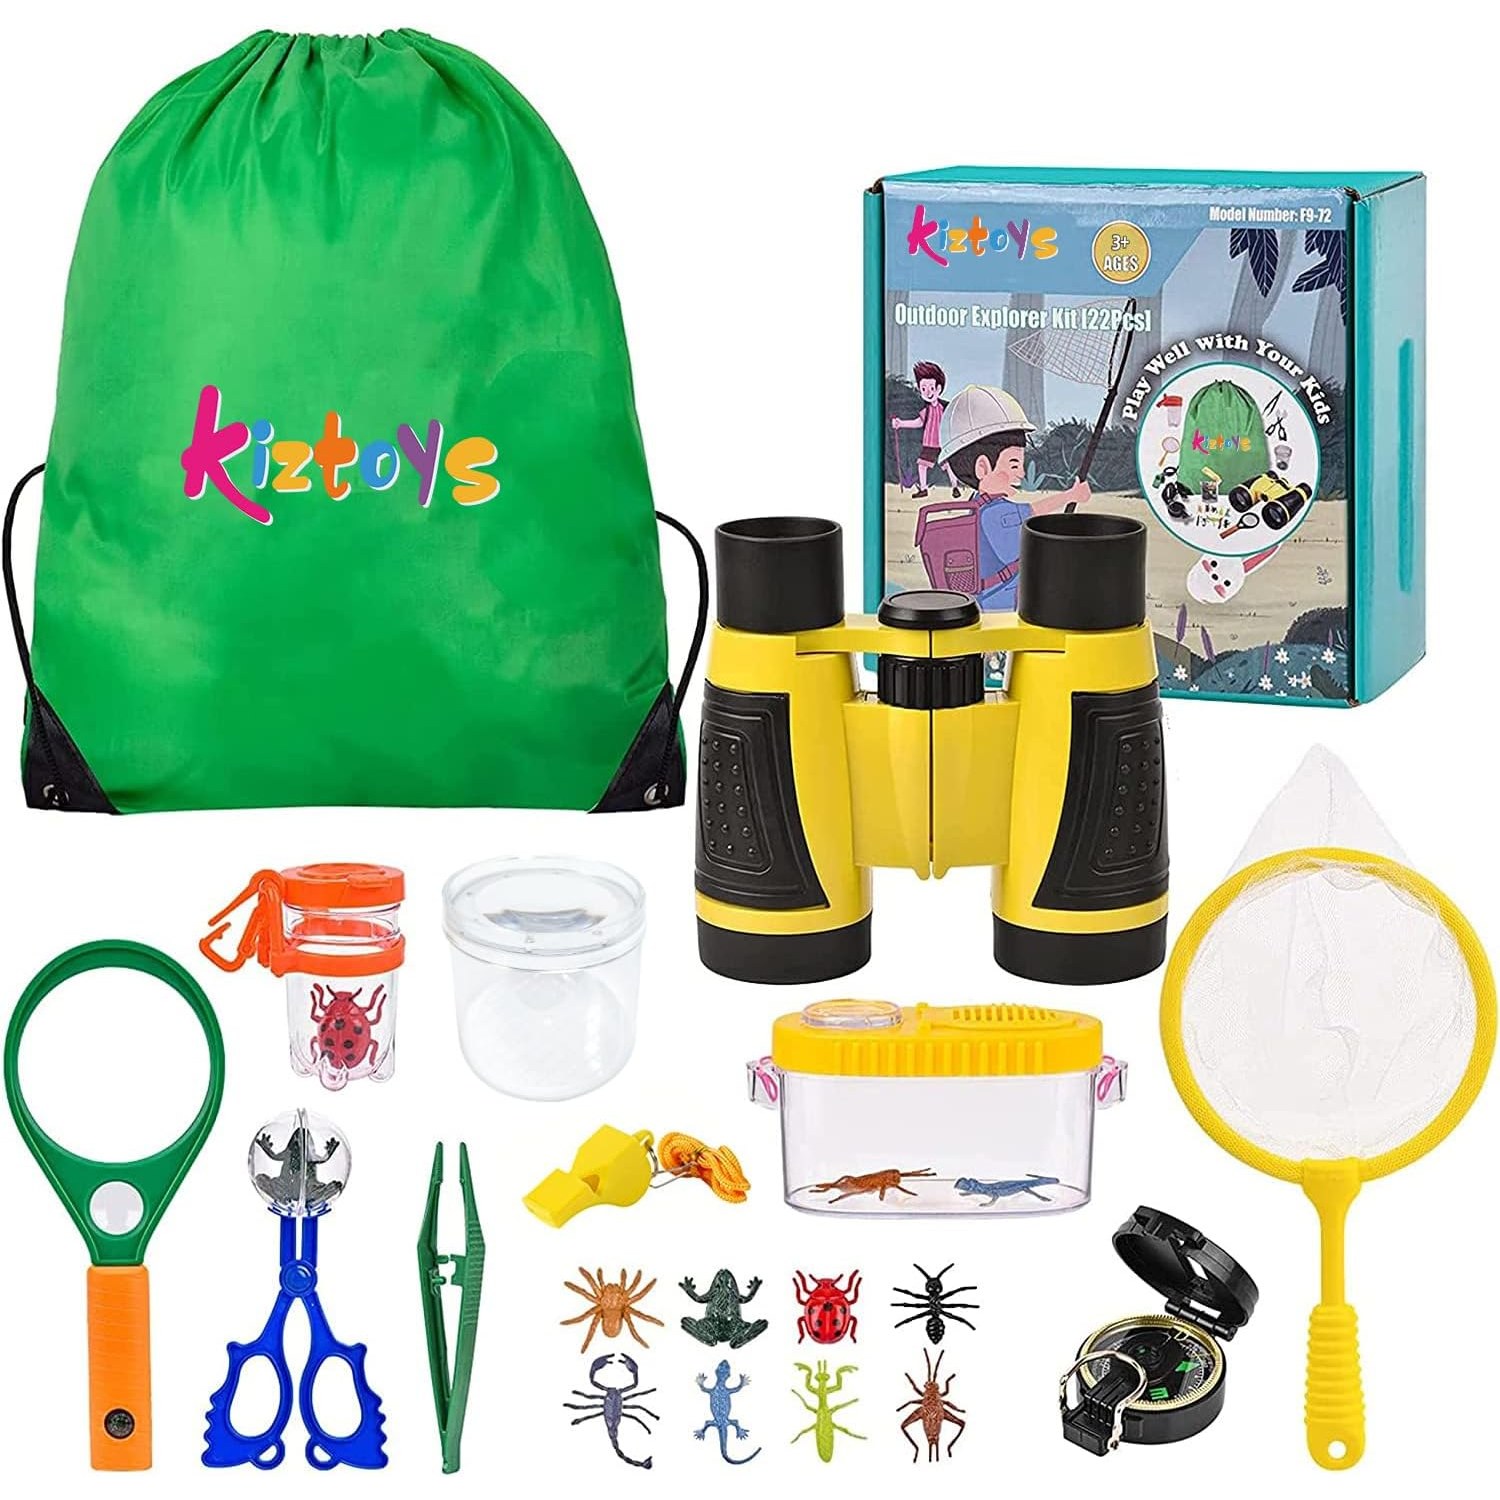
This guide covers what is actually in a 22 piece outdoor explorer kit, how the pieces get used, who the kit suits, what to think about before you buy, and how to keep it in one piece past the first week.
What the 22 pieces actually do
The set is built around an insect theme, and the tools fall into a few groups.
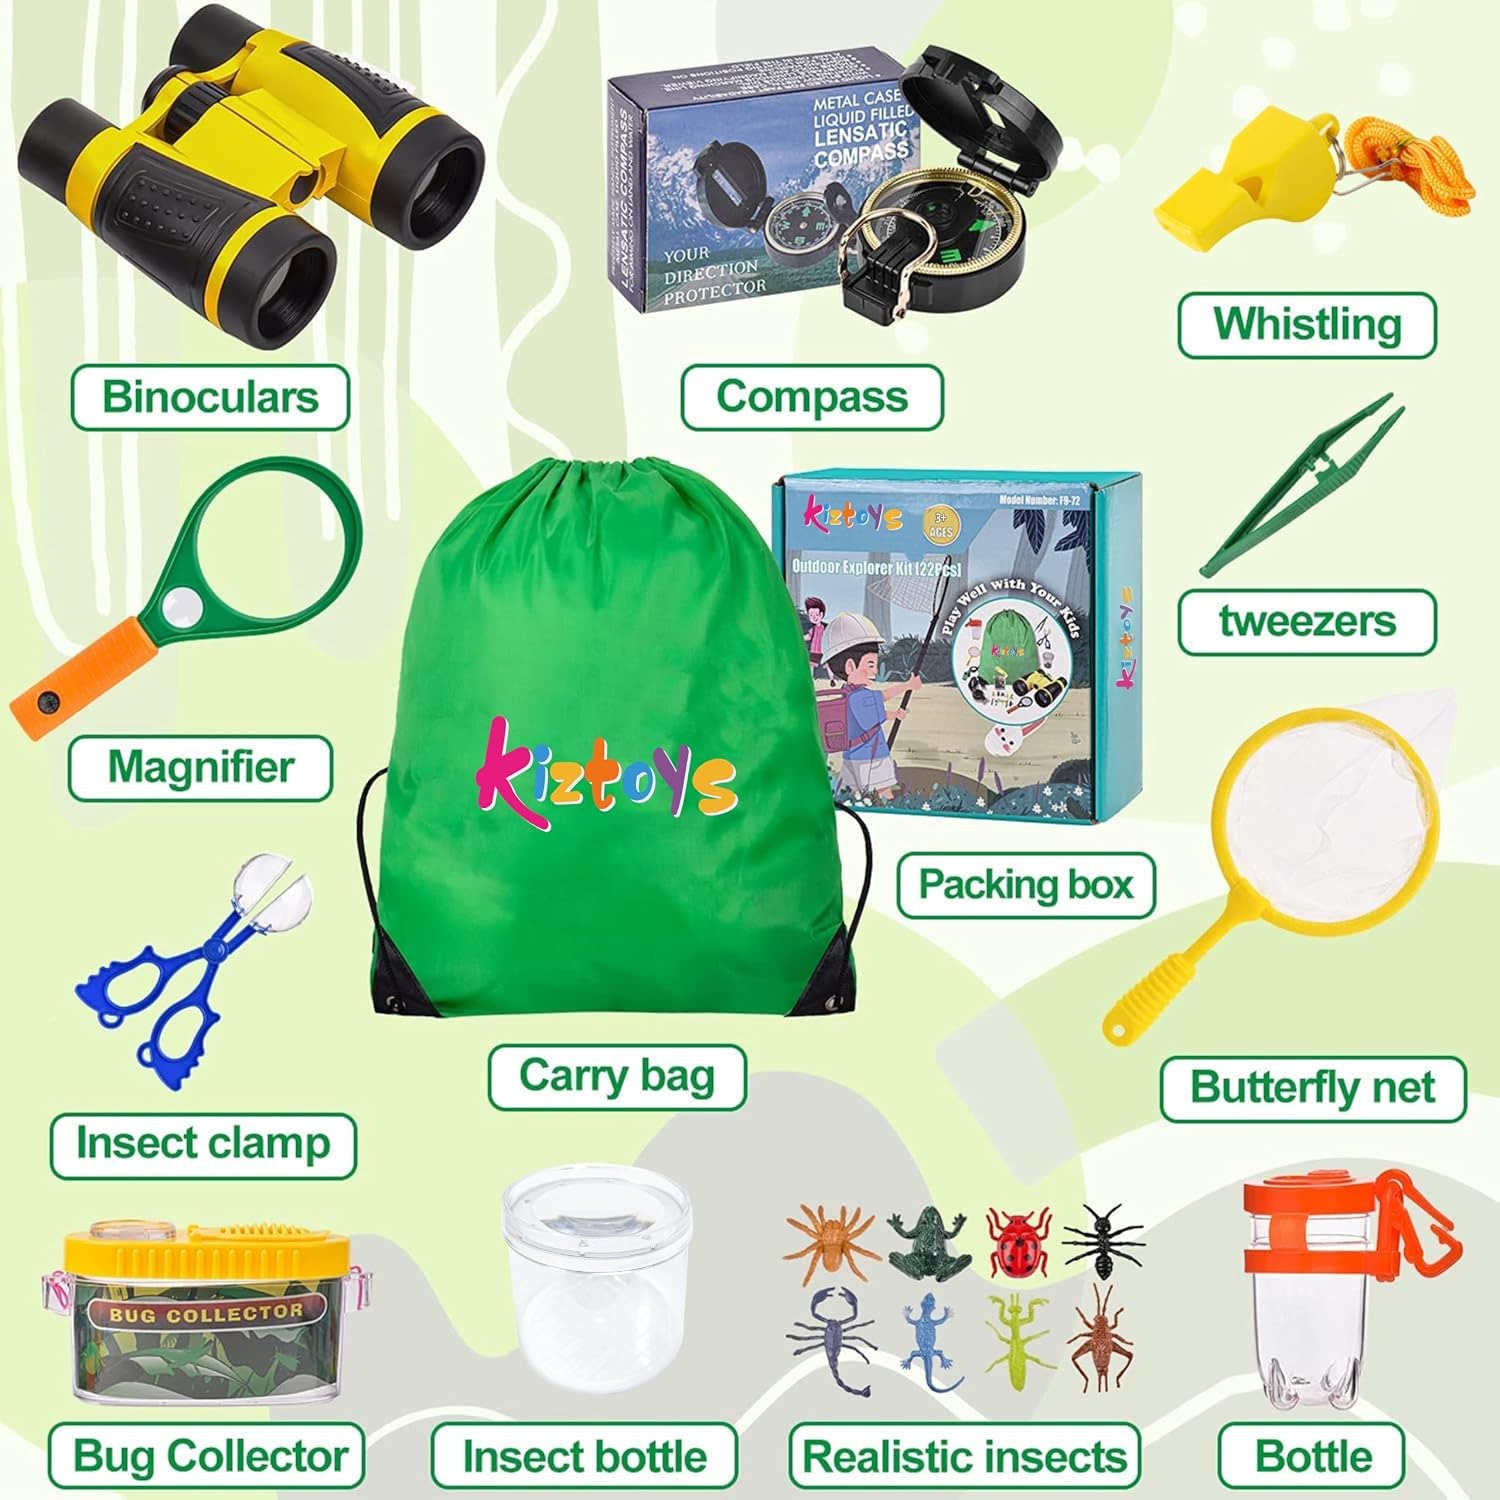
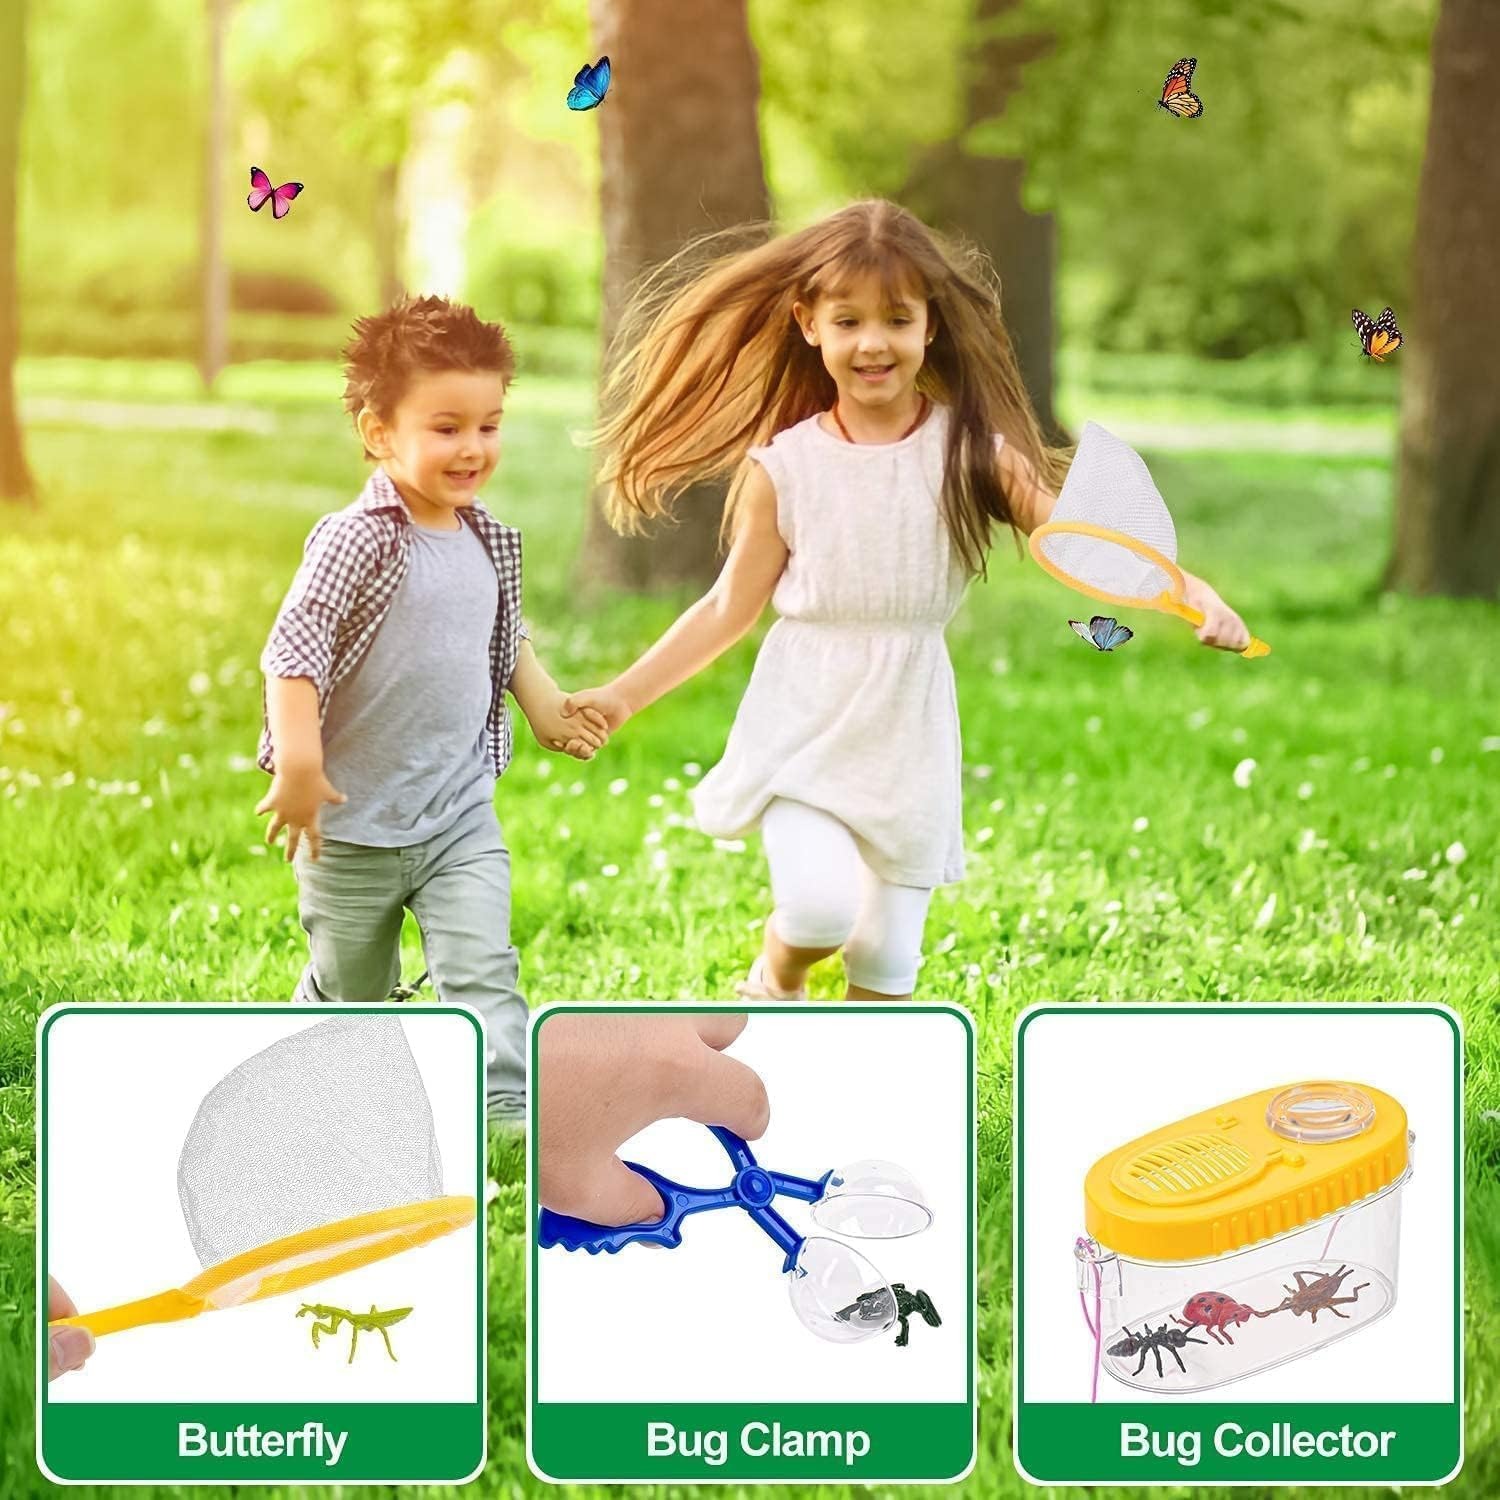
The catching tools are the butterfly net, the tweezers and the insect clamp. The net is for anything flying. The clamp and tweezers are for picking up slow-moving things without squashing them, which also keeps fingers out of the way if the bug turns out to be a spider.
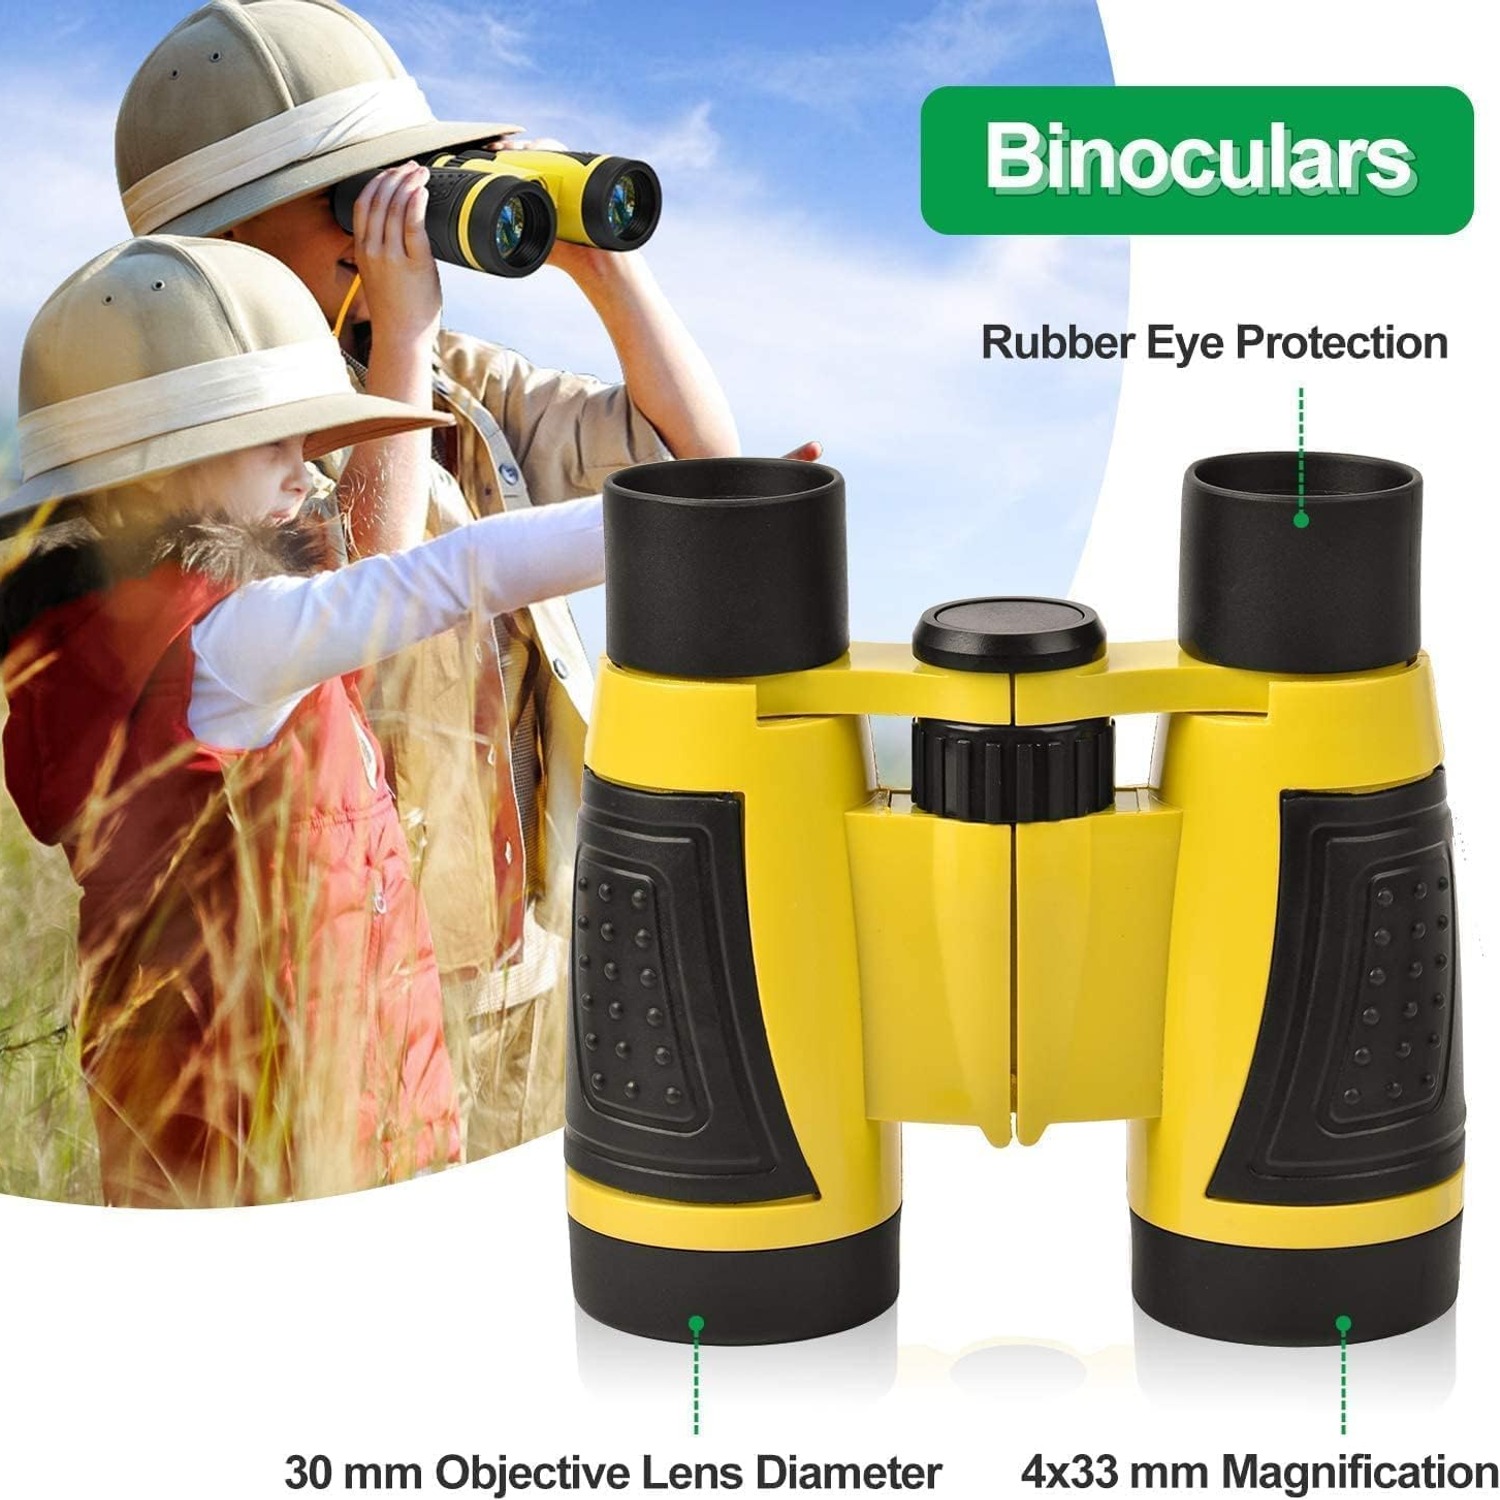
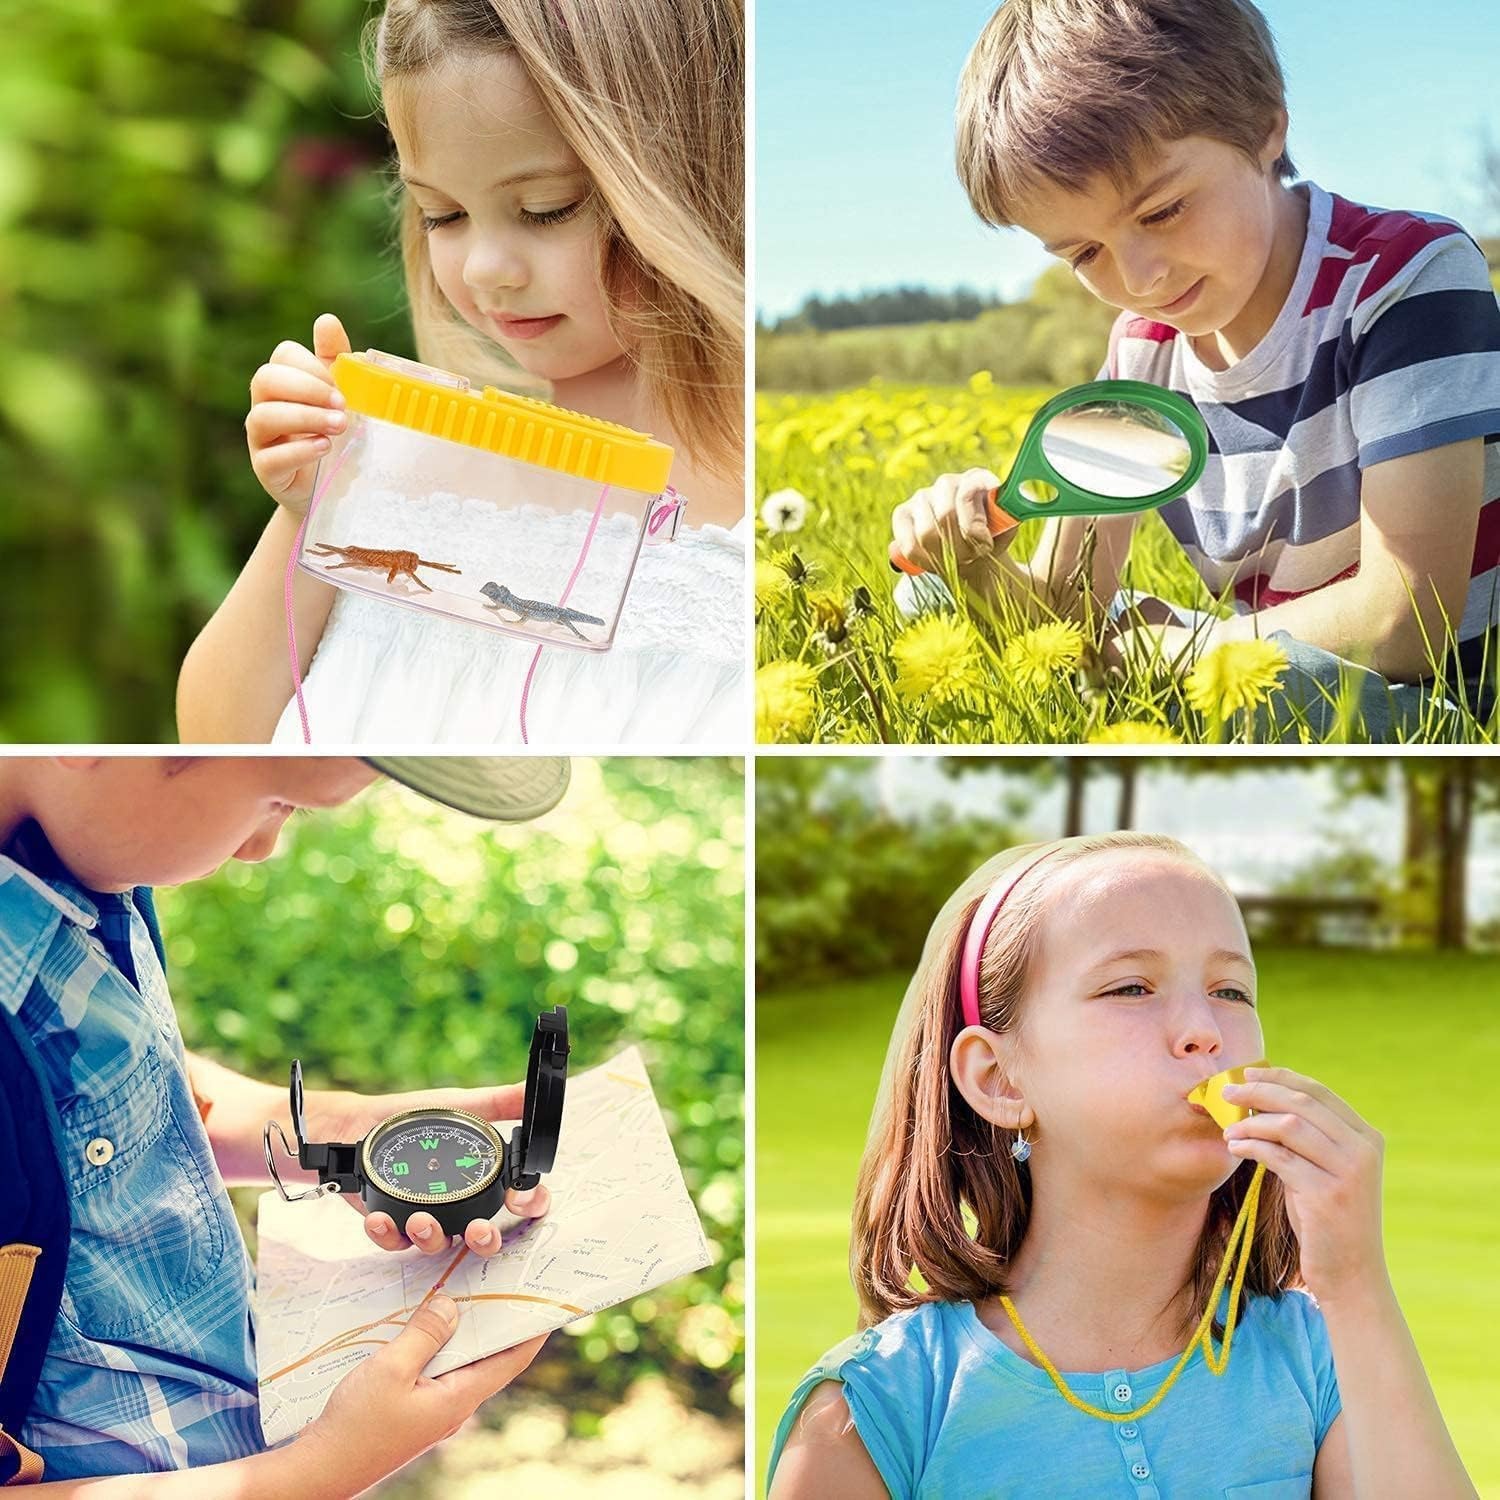
The looking tools are the magnifying glass, the insect container and the binoculars. The magnifying glass is the one that gets used most, because it works on everything, not just insects. Bark, feathers, sand, moss and the pattern on a leaf all turn into something else under a lens. The insect container holds a bug still for a short viewing. The binoculars push the range further out, for birds, squirrels and whatever is moving in the next field.
Then there is the navigation and signalling side: a compass and a whistle. The compass is a genuinely useful teaching tool. Most children have never been shown that north stays put while they turn around, and the moment that lands is worth the price on its own.
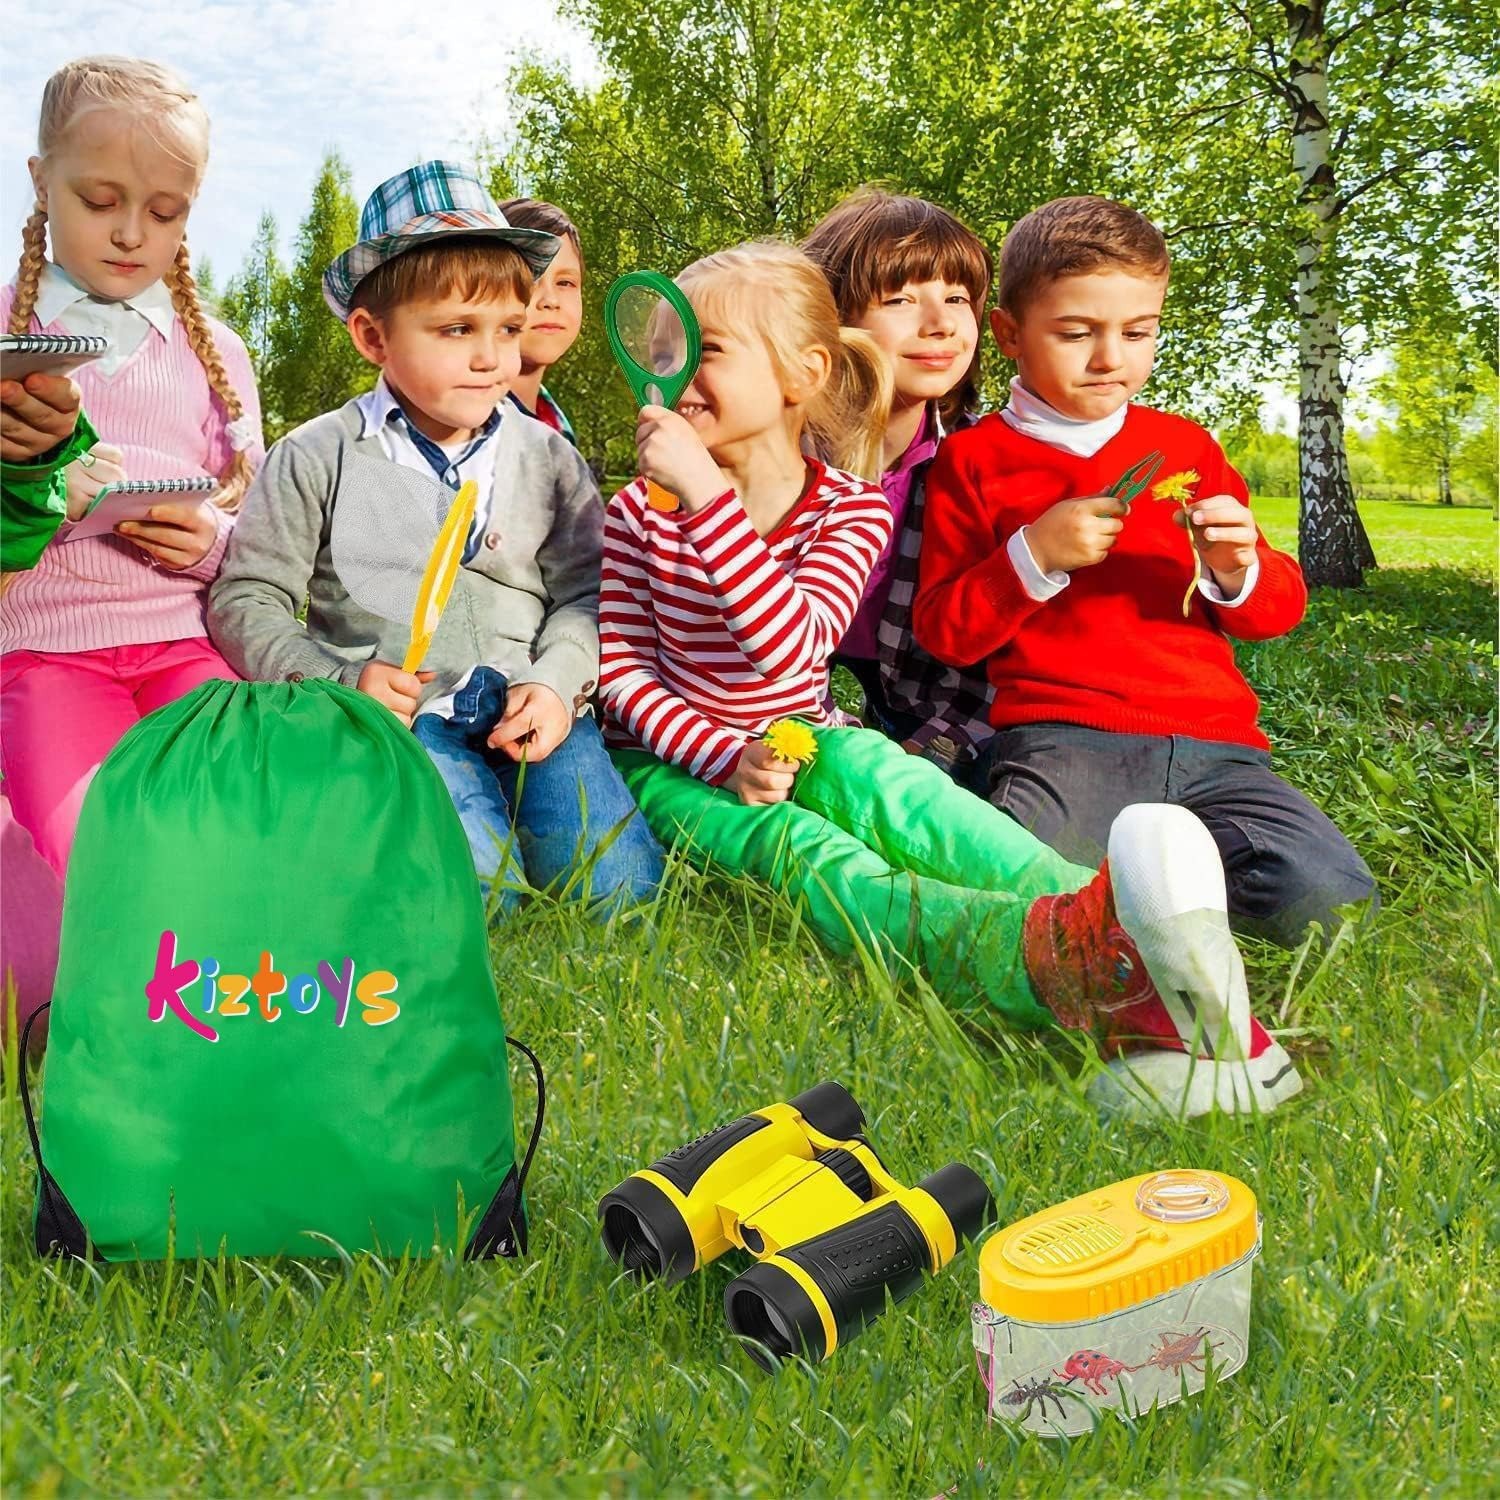
Finally there is the supporting kit. A drawstring carry bag holds everything. A pack of fake insects gives the tools something to do indoors. A certificate marks the first expedition, which sounds like a small thing until you see a six year old insist on having their name written on it.
No assembly is required. The bag opens and the kit is ready, which matters when enthusiasm has a short shelf life.
Who the kit suits
The manufacturer recommends ages 36 months to 12 years. That is a wide span, and children use it very differently across it.
At three and four, the kit is a shared activity. An adult does the catching, the child does the looking. The magnifying glass and the net are the two pieces that make sense at this age, and the fake insects give a safe way to practise.
From five to eight is the sweet spot. Children here have the hand control for tweezers, the patience for a container viewing, and the curiosity to ask what something is called. This is the age where the kit gets used most and where a nature exploration toy earns its keep.
From nine to twelve, interest shifts outward. The compass and binoculars take over. Children start planning routes, mapping the garden, and setting themselves challenges. Some will outgrow the bug side entirely but keep using the optics on walks.
It is also worth saying what the kit is not. These are children's tools made of plastic. The binoculars are for learning to use binoculars, not for serious birding. The compass teaches direction, not orienteering competition. Judge it as a starter set and it does well.
How to choose between kits
If you are comparing outdoor explorer sets, a few things separate the useful from the disappointing.
Count the tools that do something. Piece counts can be inflated by stickers and filler. In this set the working pieces are the binoculars, compass, net, magnifier, tweezers, clamp, container and whistle. That is a real spread of functions rather than four versions of the same thing.
Check how it is carried. A kit with no bag ends up scattered across a hallway within a fortnight. The drawstring bag here keeps the set together and means a child can carry it themselves, which they like far more than handing it to an adult.
Look at weight and size. The whole thing comes in at 0.69 kg and packs to roughly 19.6 x 10.5 x 19.8 cm. That is small enough to live in a car boot permanently, so it is there when you end up at a park unexpectedly.
Think about the age spread. A kit aimed at one narrow year gets shelved quickly. A range from three to twelve means younger siblings inherit it, which doubles the value over time.
Making it last past the first weekend
The most common failure is not breakage. It is the kit disappearing in pieces. Set one rule from day one: everything goes back in the bag before you go inside. Count the items out loud if you need to. It takes thirty seconds and saves the set.
Cleaning is simple. Wipe the plastic with a damp cloth and dry it. Never put anything in a dishwasher or washing machine. Lenses need a dry cloth only, and keeping grit off them matters more than anything else, because a scratched lens never comes back.
The butterfly net needs to dry before it is folded away. Damp mesh packed in a bag goes musty, and the smell is hard to shift. Hang it over a chair for an hour after a wet outing.
Store the bag indoors and out of direct sun. Plastic left on a windowsill through a summer goes brittle.
The last habit is about the insects, not the gear. Agree that anything caught goes back within a few minutes, in the same place it came from. Children take that rule seriously when it is framed as part of being a proper explorer, and it turns a bug catching kit into something that teaches care rather than collecting.
Getting the most out of it
A few ideas that keep a kit in rotation longer.
Change the location. The same tools feel new at a beach, in woodland, by a stream or on a campsite. Rockpools in particular give the magnifying glass and the container a completely different job.
Give the expedition a theme. Today we are only looking for things with six legs. Today we are mapping the garden with the compass. A goal beats open-ended searching for most children under ten.
Keep a notebook alongside the kit. Not part of the set, but a cheap pad and pencil turn observations into a record, and children enjoy comparing what they found in June to what they find in September.
Use the fake insects on wet days. Hiding them around the house keeps the tweezers and magnifier in use and stops the kit becoming a summer-only thing.
The short version
This is a 22 piece outdoor explorer kit built around an insect theme, with binoculars, a compass, a butterfly net, a whistle, a magnifying glass, tweezers, an insect clamp, an insect container, a certificate, a pack of fake insects and a drawstring carry bag. It needs no assembly, weighs 0.69 kg, and is recommended for ages 36 months to twelve years.
It suits families who want their children outside with something to do, and it works just as well on a campsite or a beach as it does in a back garden. Treat it as a quality starter set rather than precision equipment, keep the lenses clean, make everything go back in the bag, and it will see a child through several summers and probably a younger sibling after that.