
The complete guide
How to Choose a Robot Building Kit That Actually Gets Built
The toy that stops being a toy after one afternoon
Every parent knows the pattern. A box arrives, there is an hour of excitement, something gets built, and then it sits on a shelf collecting dust until it quietly moves to the loft. The build was the fun part, and once the build is over, so is the toy.
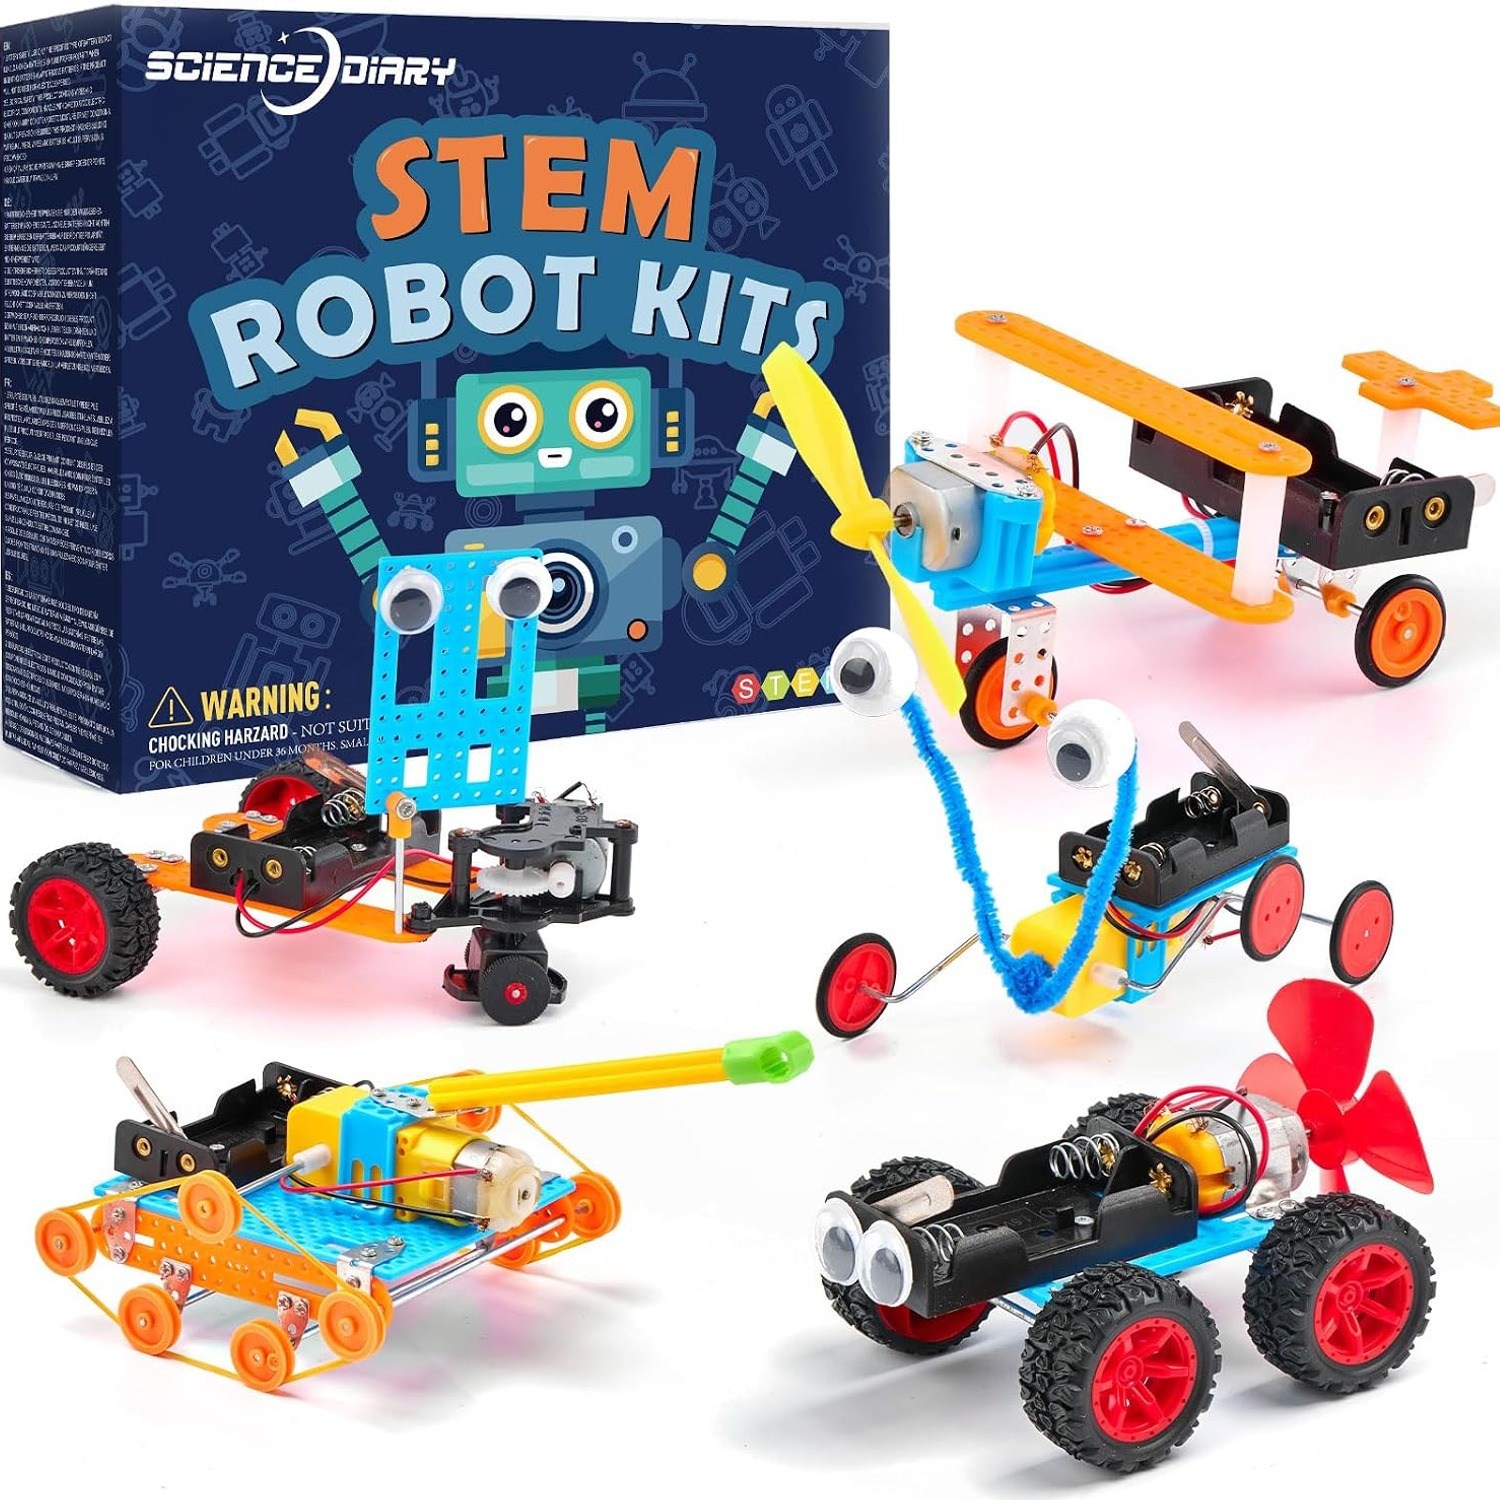
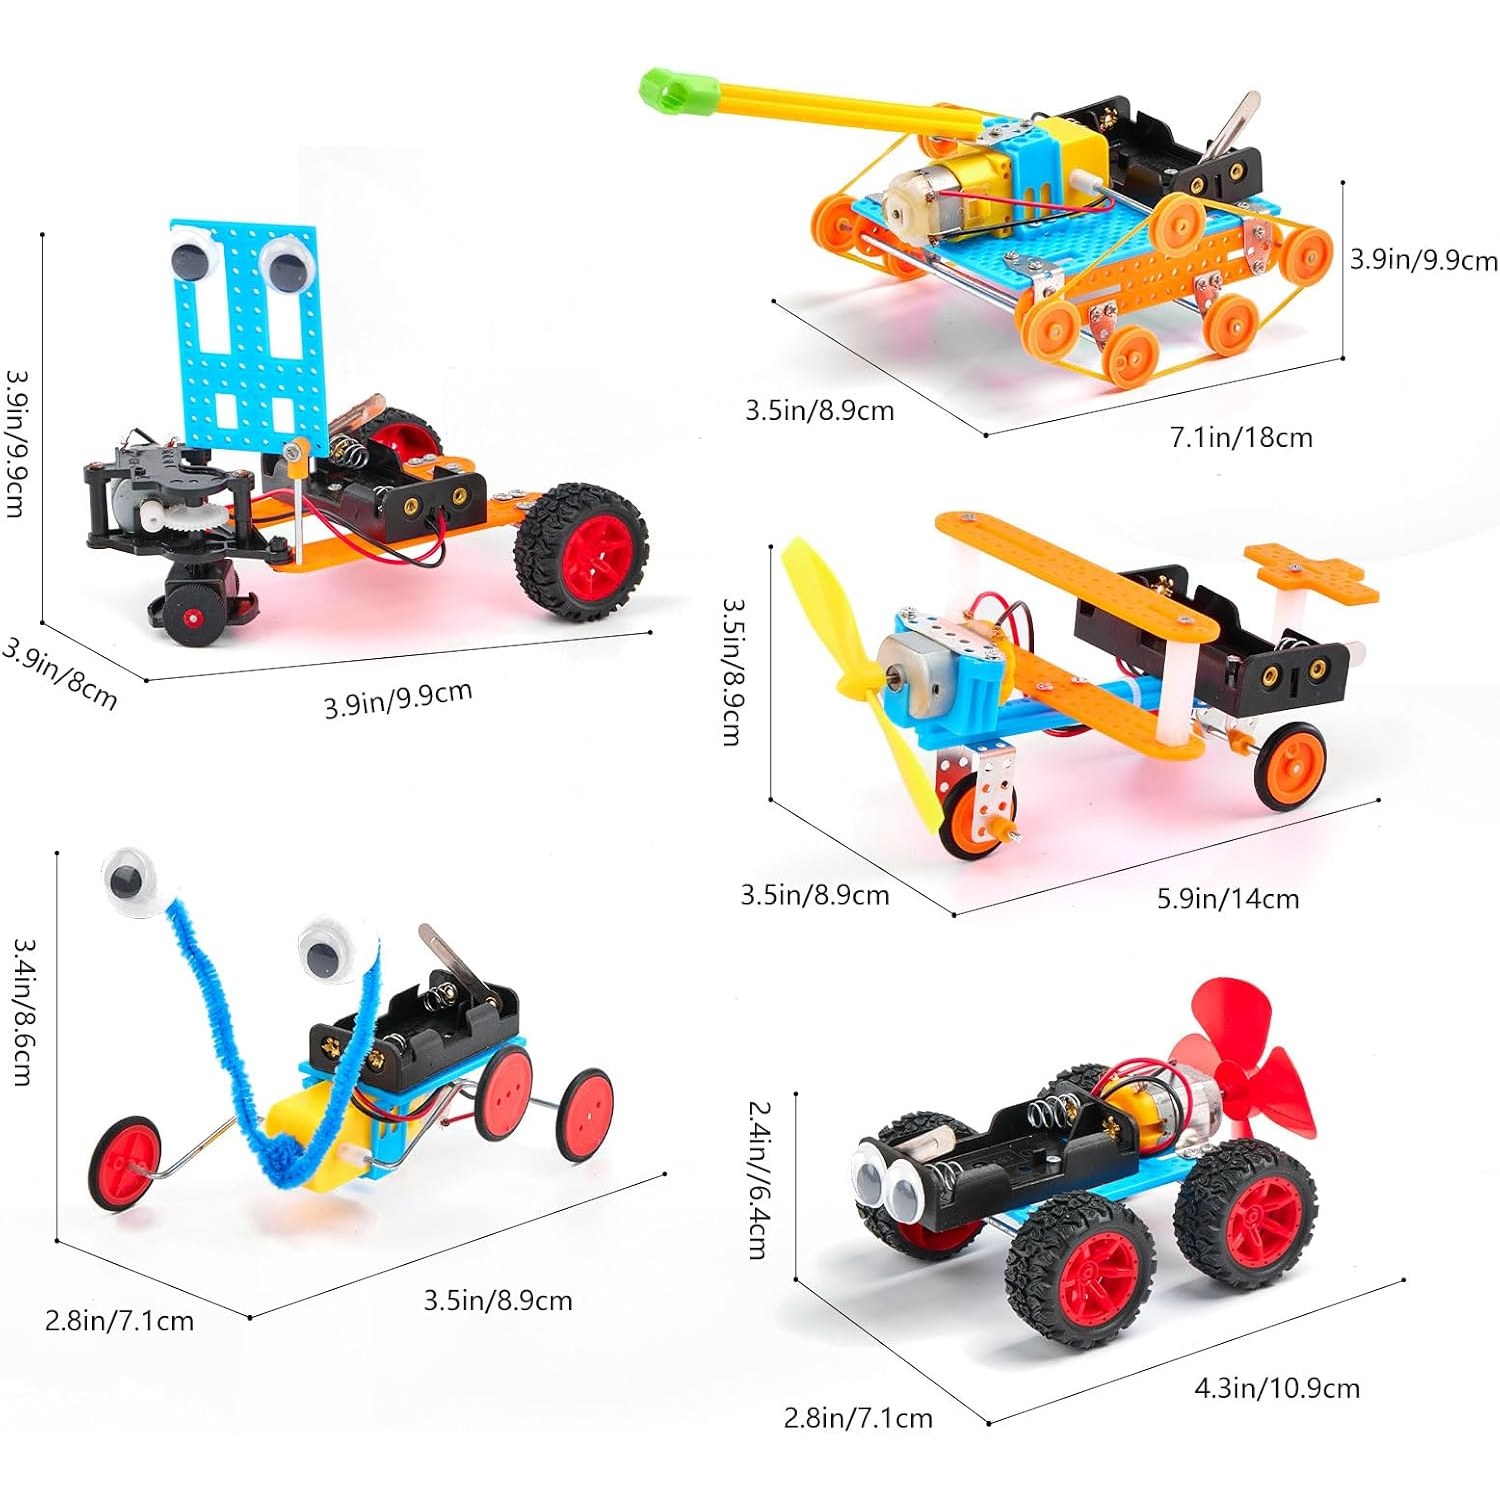
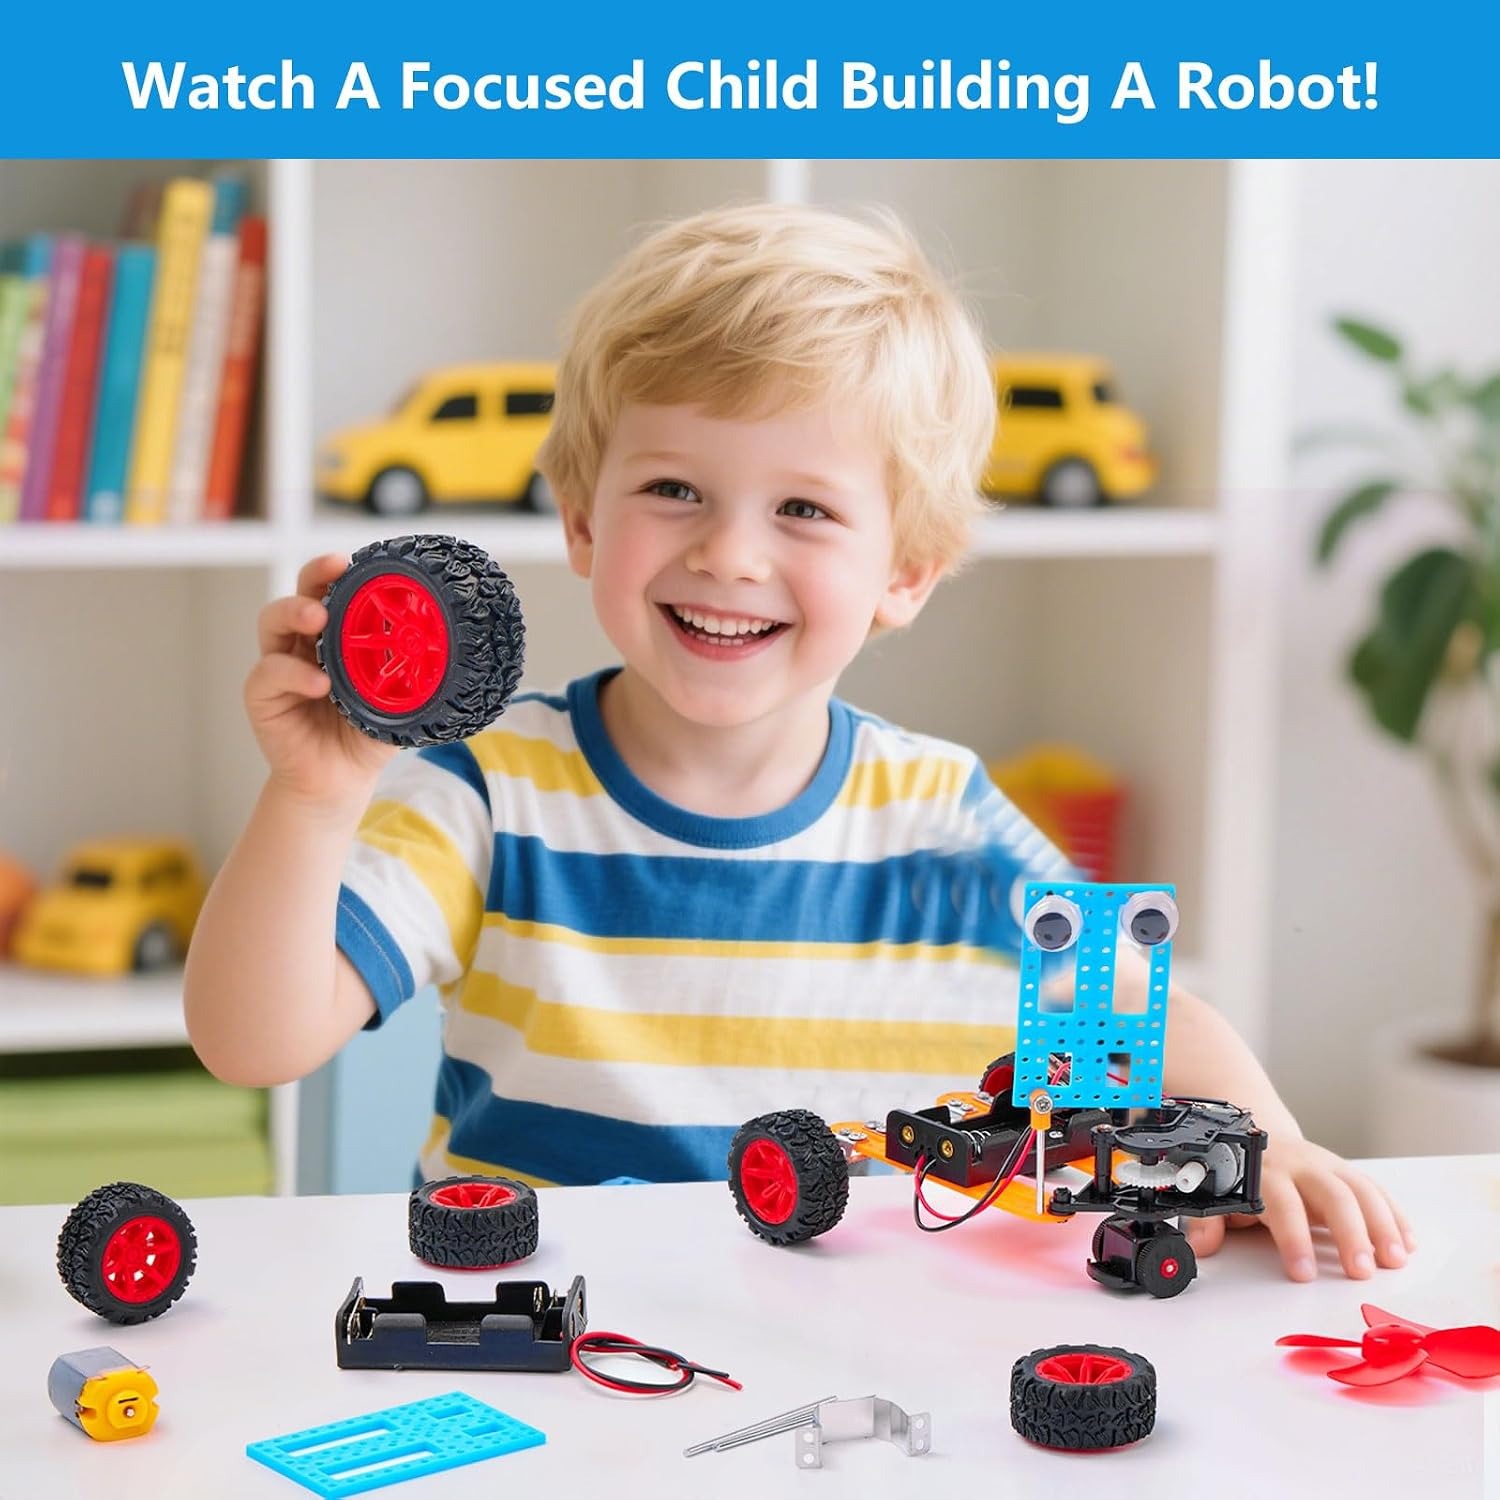
That is the problem a multi-model robot building kit is designed around. Instead of one finished object, you get five, made from the same shared pool of parts. The child builds a wind-powered car, plays with it, then takes it apart and builds a tank. Then a glider. Then a crawling robot. Then a car rotating robot. The dismantling is not a loss, it is the next invitation.
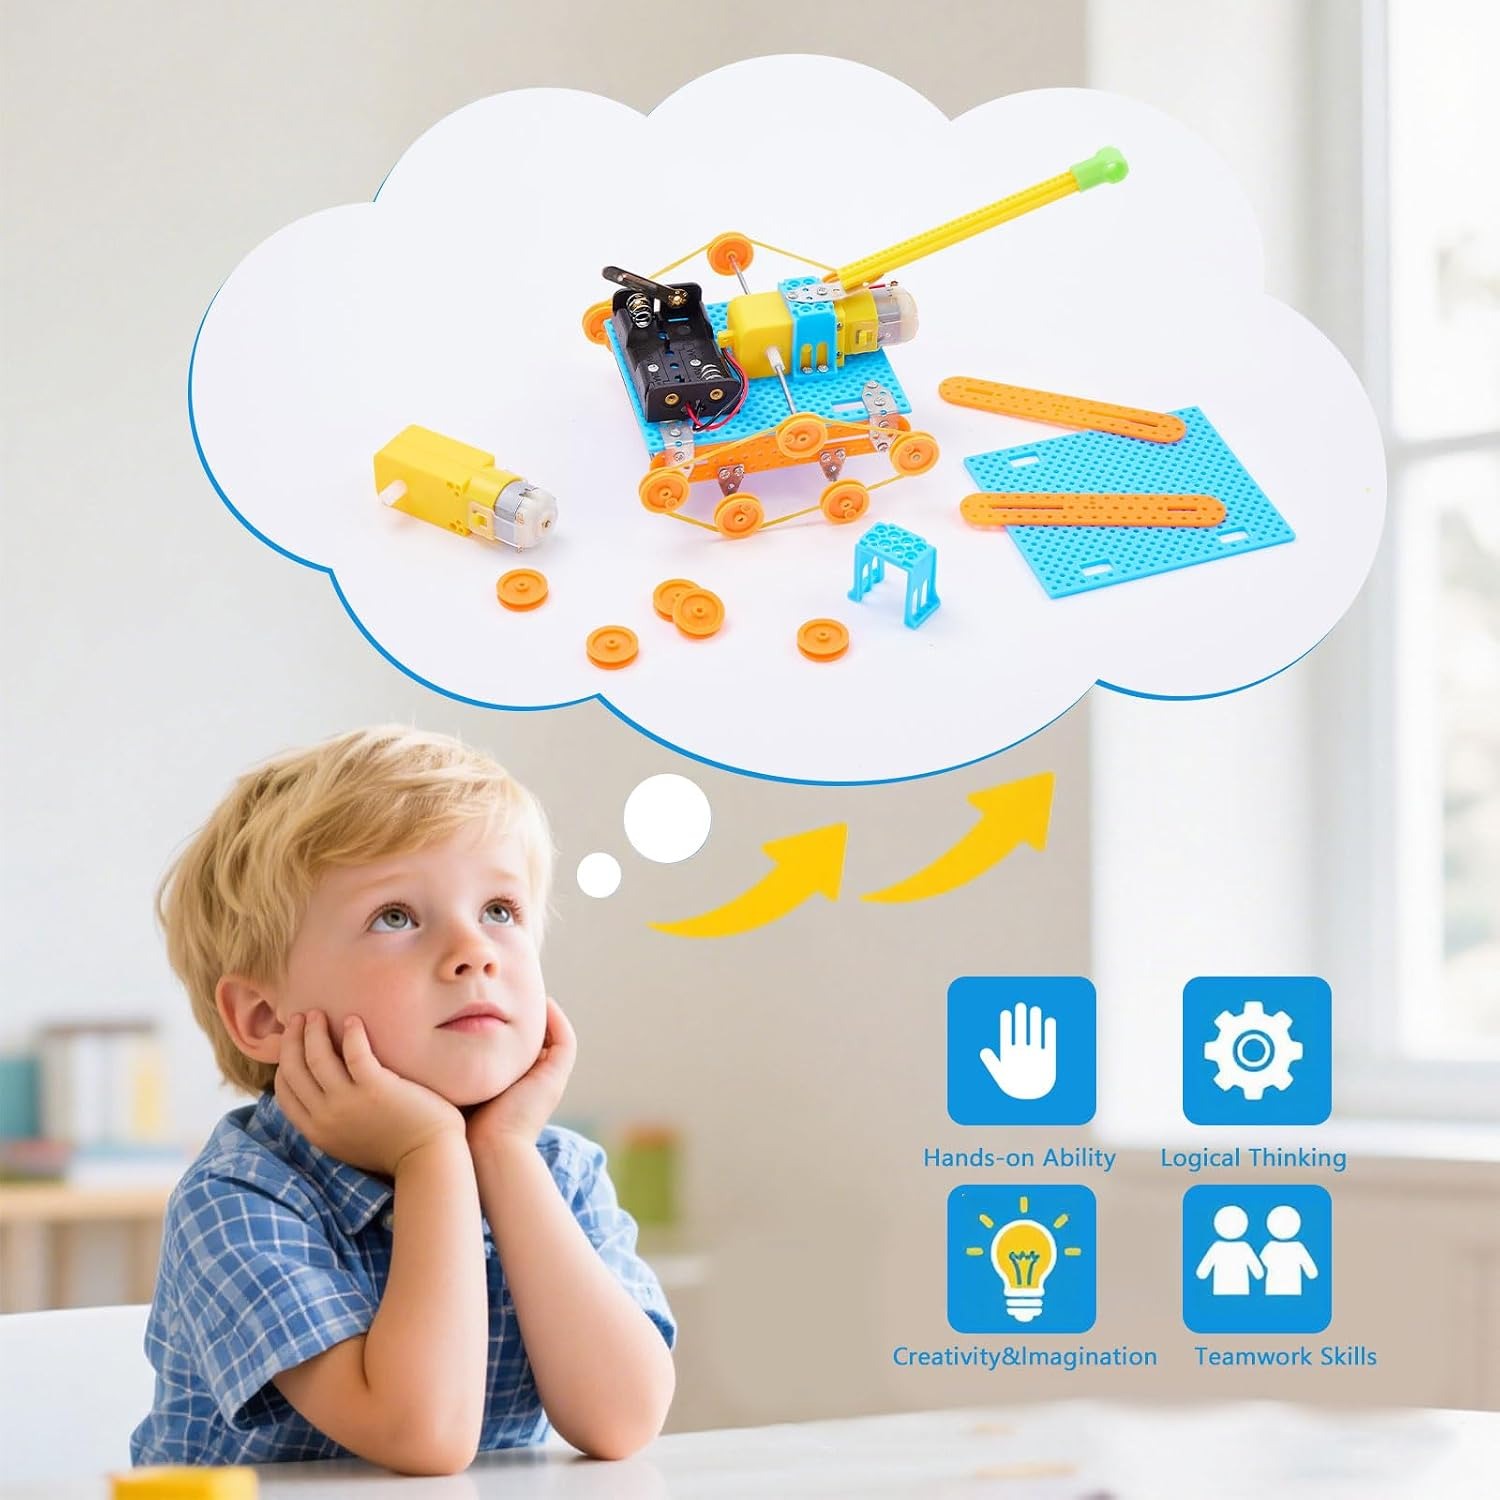
It sounds like a small design difference. In practice it changes how long the kit lives in a household, and more importantly it changes what the child learns. Building something once teaches you to follow instructions. Building five things from the same parts teaches you how parts actually work.
How the kit works in practice
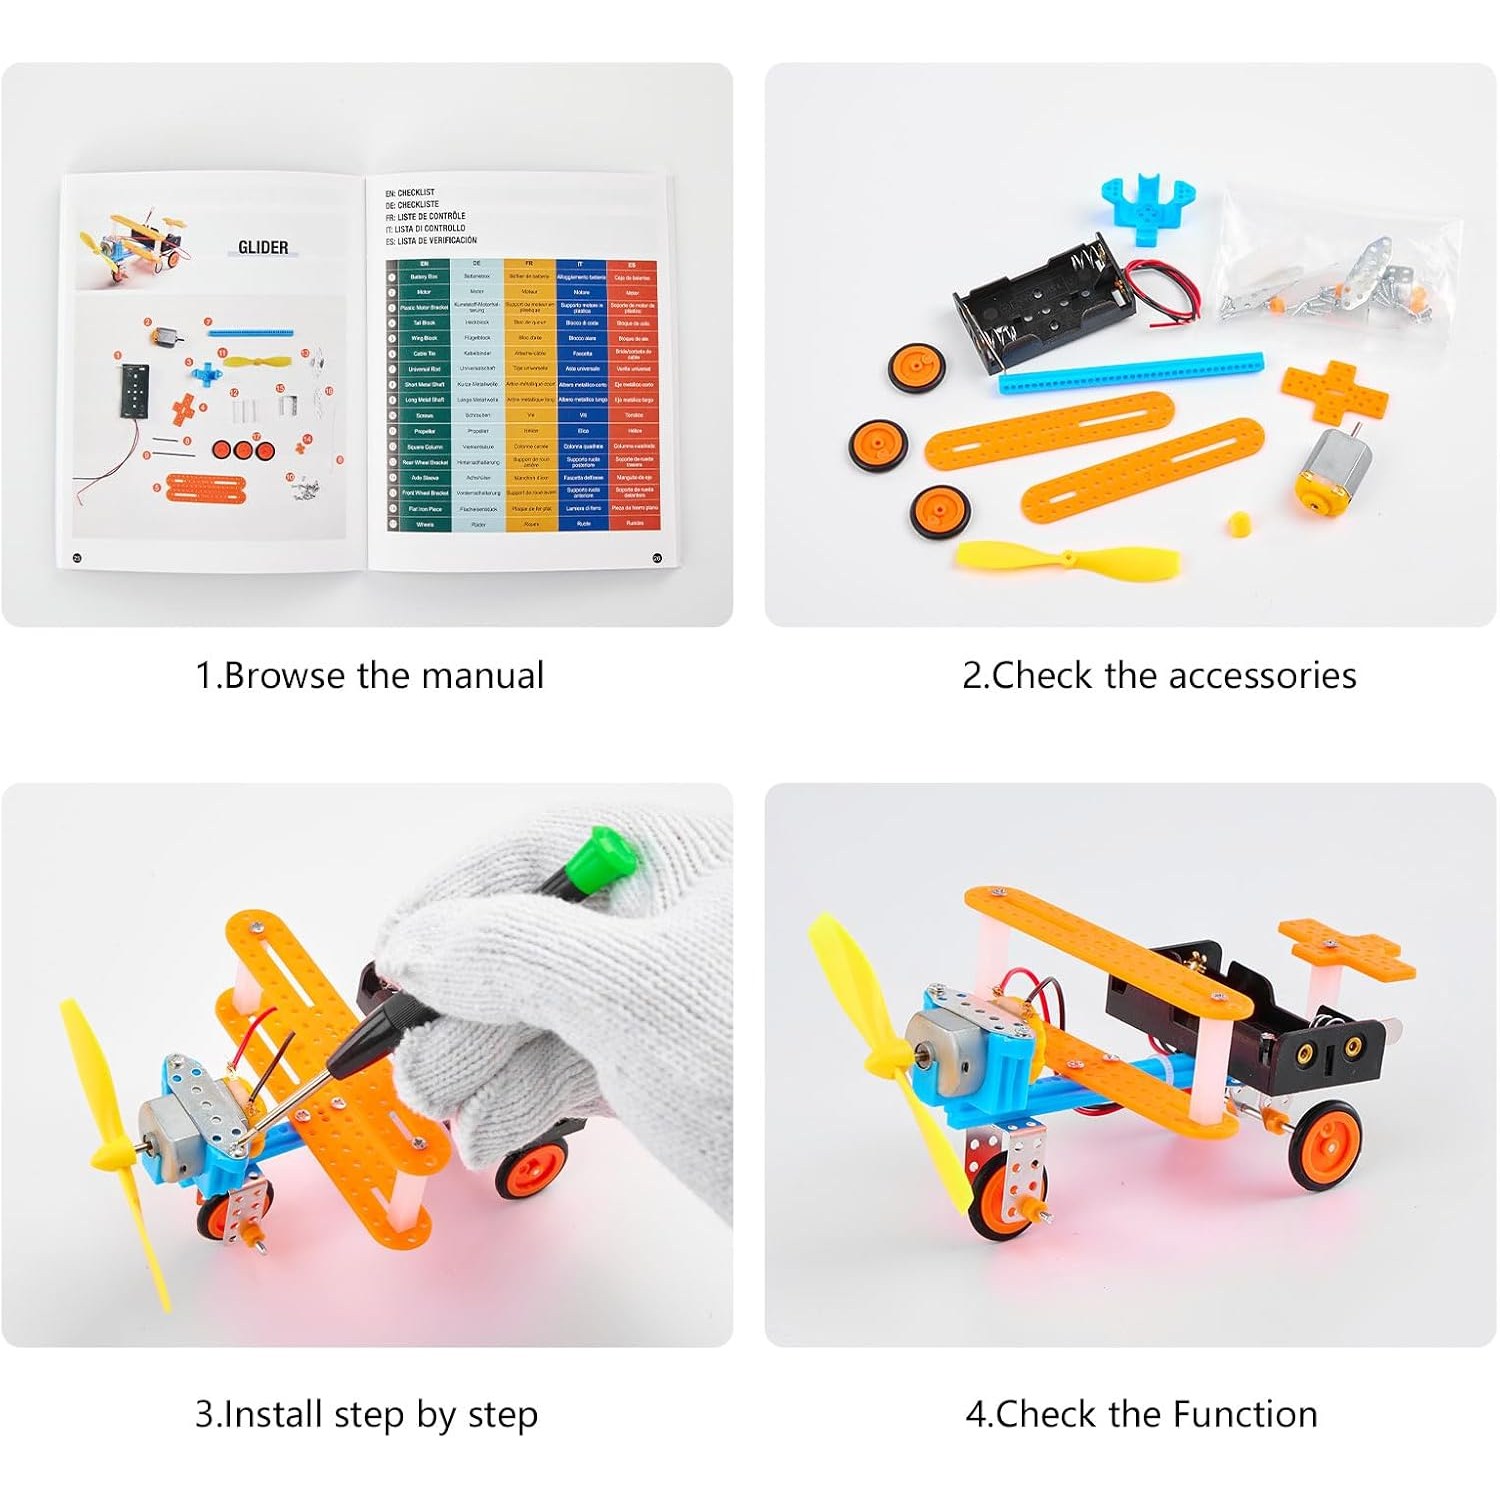
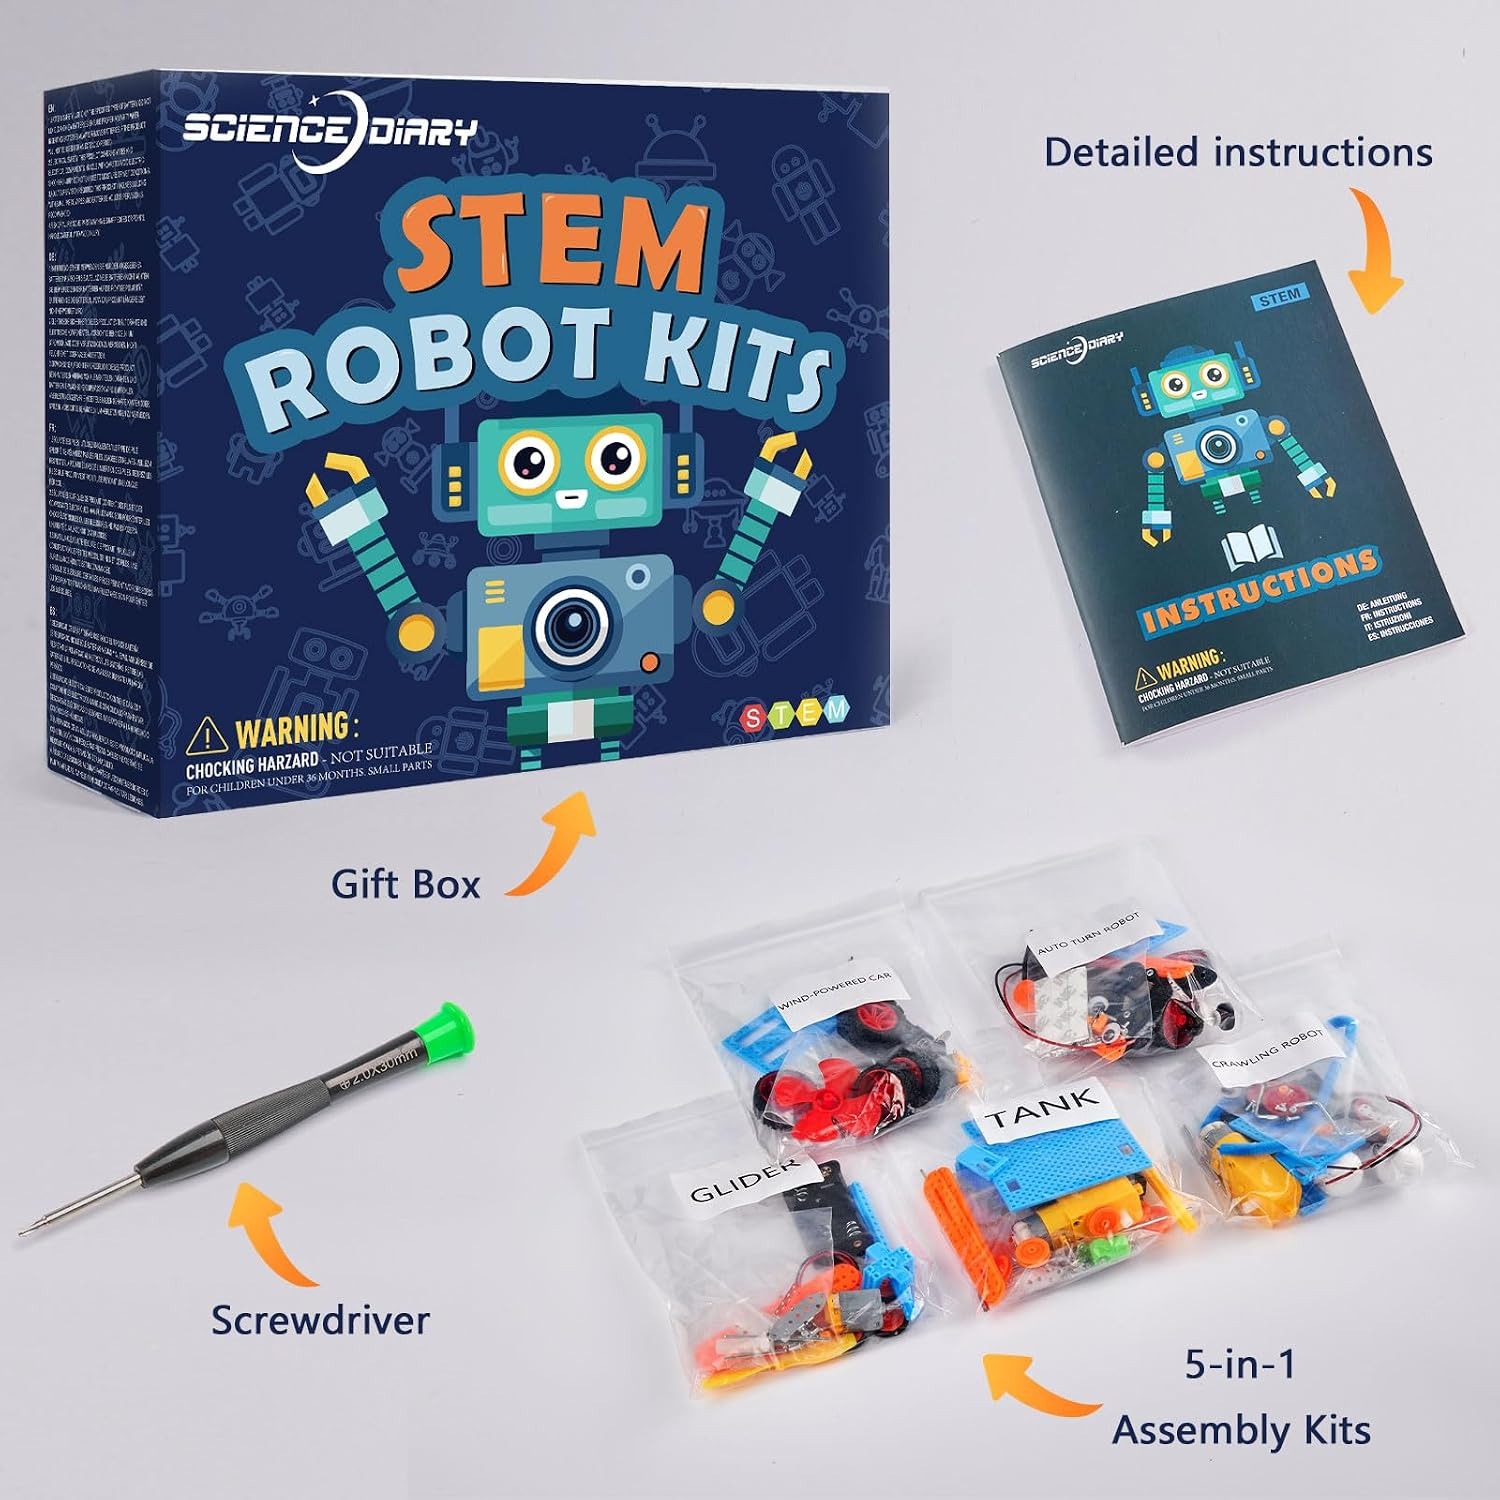
The box contains parts for five robots, a screwdriver and an illustrated instruction booklet. The motorised models use the included engines, so movement is built in rather than imagined. Batteries are not supplied, which is worth knowing in advance if this is going under a tree or next to a birthday cake.
The instructions are the quiet hero here. They are staged, with clear drawings at each step, and the text appears in German, English, French, Spanish and Italian. The pictures do most of the heavy lifting, which matters for a nine year old who is a confident builder but not yet a confident reader. A child who can see what the next step looks like will keep going. A child facing a wall of text will call for help on step two and lose interest by step five.
Assembly is required for every model, and that is the point. The screws, the gear alignment, the moment when a crawling robot does not crawl because something is seated slightly wrong, all of that is the lesson. Children learn to check their own work, backtrack, and try again. There is no coding here, so this is mechanical engineering rather than software. For a lot of children, that is the better starting place anyway, because you can see a gear turn with your own eyes.
Who it suits
The manufacturer recommends ages 8 to 12, with a maximum recommended age listed at 144 months. That band is realistic for independent building. An eight year old with reasonable patience will manage most of it alone, calling for help on the odd tight screw.
Younger children around six or seven can absolutely enjoy this, but plan on sitting beside them. The fiddly bits will frustrate small hands, and a parent who takes over the awkward joints keeps the session positive. Many families find this makes it one of the better family building projects, because the adult has a genuine job rather than just watching.
It also suits a particular kind of child regardless of age. If you have one who unscrews the back of the remote control, who asks how the washing machine spins, who takes a torch apart to see the inside, this is their sort of thing. If your child prefers open-ended creative play with no instructions at all, a kit with fixed steps may feel restrictive, and a loose building set might serve better.
For classrooms, one kit builds one model at a time. It works nicely as a rotating station or a small group activity. A full class would need several.
What to look at when comparing kits
Count the builds, not the pieces. Piece count is the headline number on most boxes, but a thousand pieces that make one model is less useful than a modest parts count that makes five. Repeat value is the real measure.
Check whether motors and tools are included. Plenty of kits list a motorised model and then expect you to supply the motor, the screwdriver, or both. This one includes the engines and a screwdriver. Batteries are the only thing you need to add.
Look at the instruction format. Illustrated, staged instructions in a language your child reads are worth more than a feature list. A kit with poor instructions will be abandoned halfway through regardless of how clever the models are.
Think about the age band honestly. Buying a kit a couple of years above your child's level in the hope they grow into it usually results in an adult doing all the building while the child drifts off. The stated 8 to 12 range here is sensible for the complexity involved.
Finally, consider storage. This kit measures 18 x 16 x 7 cm and weighs 0.49 kg. It fits on a bookshelf and travels easily to a grandparent's house, which is more than you can say for most construction sets.
Safety and sensible handling
The kit contains small parts and small balls, and the safety warning is clear that it is not suitable for children under 3 years because those pieces can be swallowed or inhaled. If there is a preschooler in the house, the build needs to happen on a table they cannot reach, and the parts need to go back in the box when the session ends.
Supervise younger builders, especially around the screwdriver and the battery compartment. An adult should also give the finished model a quick once-over before it gets properly played with, just to make sure nothing is loose.
Looking after it
Care is undemanding. Wipe plastic parts with a dry or slightly damp cloth, and keep water away from the motor and battery compartment. Do not soak anything or put parts through a dishwasher.
Take the batteries out if a model is going to sit unused for weeks. That one habit prevents most of the problems that kill motorised toys. Store everything back in the original box, including the instructions, because the booklet is as important as the parts when build number four comes around six months later. A small zip bag for the screws inside the box saves a lot of floor-crawling.
If a part does go missing, check under furniture before assuming it was never there. Loose screws have a gift for travel.
Getting the most from it
A few things make the difference between a kit that gets built once and a kit that gets built five times.
Do the first model together, even with an older child. It sets the tone, teaches the fastening system, and builds confidence for the solo builds that follow.
Resist the urge to fix mistakes immediately. When the crawling robot will not crawl, let the child work out why. The troubleshooting is where the thinking happens, and a child who diagnoses their own gear problem remembers it far longer than one who watched a parent fix it.
Space the builds out. Five models in one sitting is a lot, and the last two will feel like homework. One build a week keeps it fresh and gives each model proper play time before it comes apart.
Keep a photo of each finished model. Children like a record of what they made, and it gives them something to show rather than just a shelf of absent robots.
The short version
This is a five-in-one robot building kit for children aged 8 to 12, with motors, a screwdriver and illustrated instructions in five languages included. It builds a wind-powered car, a tank, a glider, a crawling robot and a car rotating robot, one at a time, from shared parts. Batteries are not supplied.
It suits a curious child who likes to see how things work, and it suits parents who want a screen free activity with a bit of substance behind it. Younger children will need a hand. Children under 3 should not be near it at all, because of the small parts.
Five builds from one box is the whole argument. It gives the kit a second, third and fifth life instead of one good afternoon.